If your a professional architectural or real estate photographer you may have been receiving calls from a company called Meero lately. Recently, this company has gone into contract with AirBnB and has been commissioned to handle the photography of AirBnB’s new “Plus” program.
Though I’m not new to the world of shooting AirBnB units, Meero has been a new experience for me, and I walk away with mix emotions about the company. I did my best to try and be optimistic about my relationship with Meero, but I’d be lying if I were to say there weren’t several moments when I wanted to send an angry email to my contact with the company.
If your interested in getting into a partnership with this company, by all means, research it yourself and make the decision that’s best for you. Personally, I think this is a great company for amateur photographers who have the basic gear needed and want to make a little side money. However, if your a professional, I would NOT recommend doing business with them and here are my reasons:
- The most important reason; You can (and most likely will) get a bad reputation in your local market from at least a few hosts.
The communication between the Hosts and Meero seem to be very inadequate. On multiple occasions I’ve received calls from clients wondering when/if they will ever see the images I took. This is well over a month later after the shoot mind you, and it has not been an isolated incident.
I also have several existing clients who were very disappointed with the images they received from Meero. Again, as you are the photographer this looks very poorly on you even though you have zero control over what images they use/don’t and how the post production is handled on the images.
So it’s your name, your face, but not really your work that the client experiences. As you are the local guy who these host see and deal with, you will be there go to when they run into problems/issues with this program (and trust me… the will…)
Bottom Line: Expect calls from frustrated hosts.
- Give up your rights to your own photos
This is, and should be a very big one for any professional photographer. The images you take for Meero are not in any way owned by you nor do you have any rights to these images.
This includes not being able to post images you take on your website and/or portfolio. WTF?????
I’ve dealt with so many companies and publications and this, is by far a FIRST for me. I’ve had certain types of restrictions regarding publishing my own work before, but never without an annual licensing fee that gets paid to me. Meero would like to pay you a one time fee, at a fairly low rate, and KEEP the ownership and rights to those photos for a lifetime!
- You have no control over the final product
As I’ve mentioned before unfortunately, you have little to no control over the final images. Because Meero handles all of the post production on all of your images (which they sell as a “benefit” when any professional will tell you it’s NOT) you have no idea what will eventually be delivered to the client and no control over the quality and style of the final product.
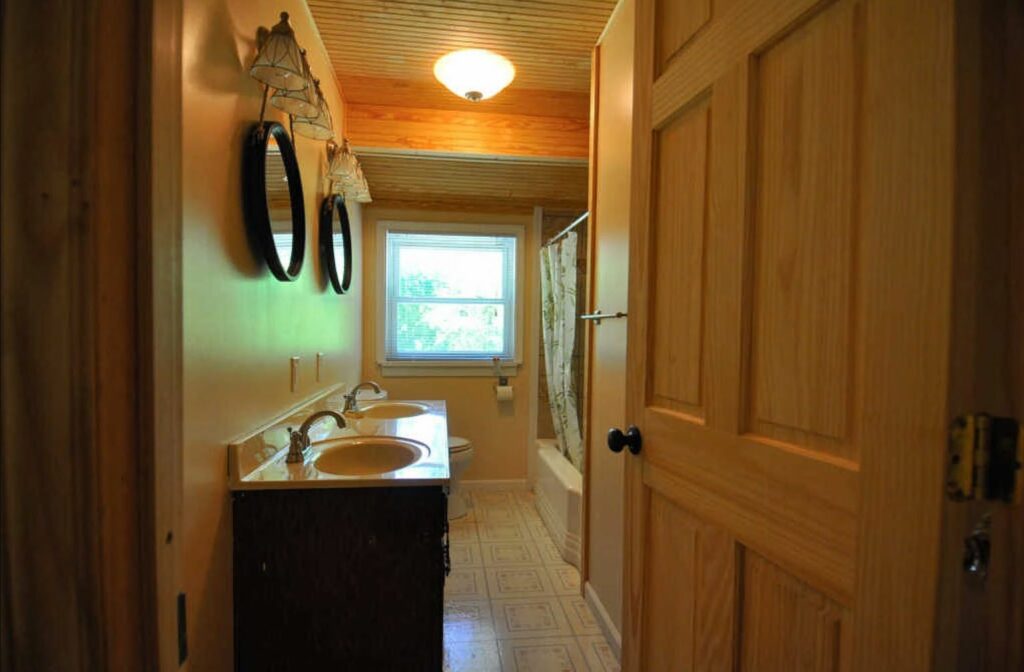
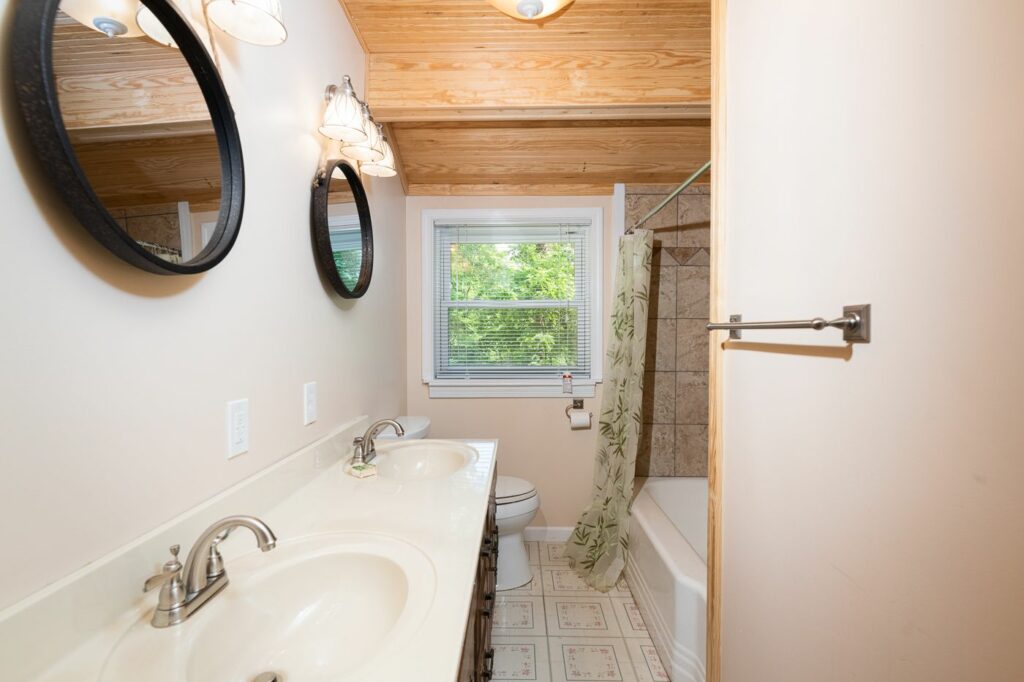
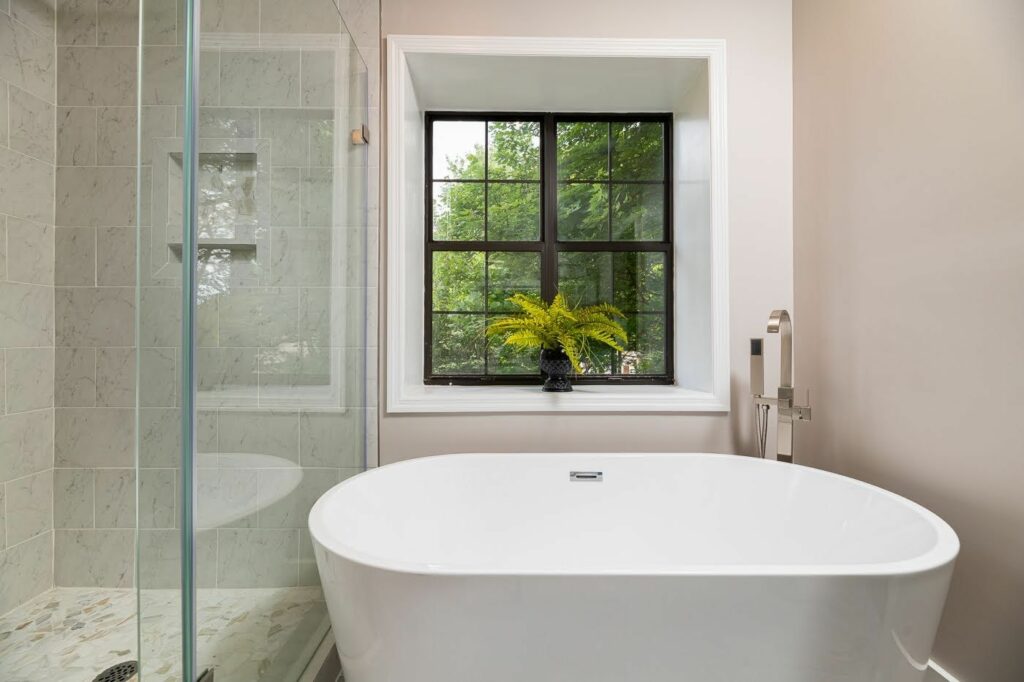
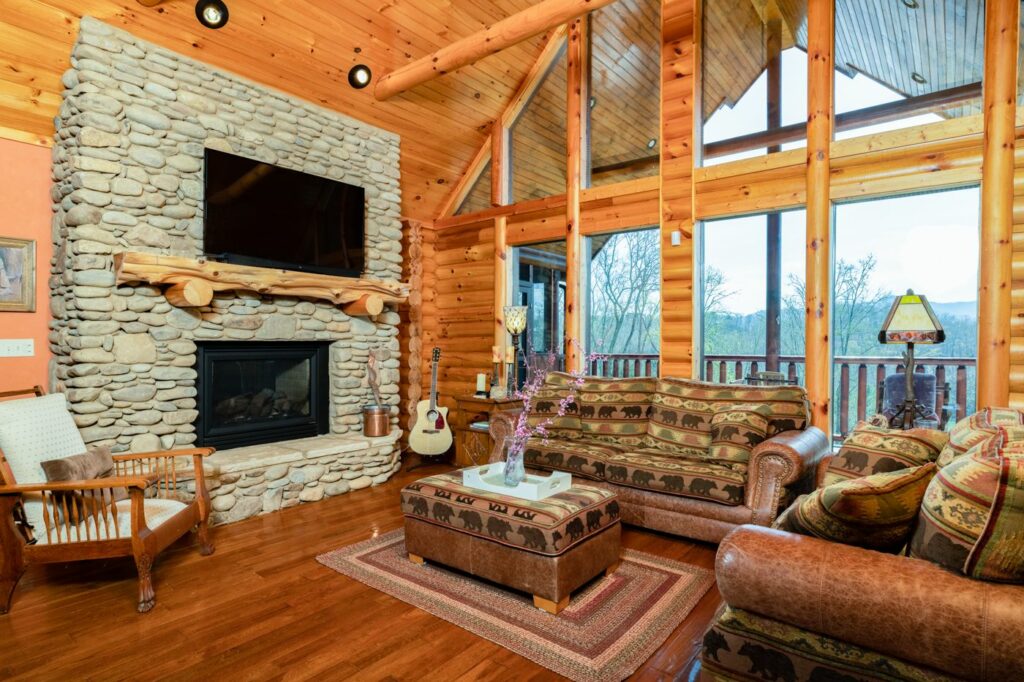
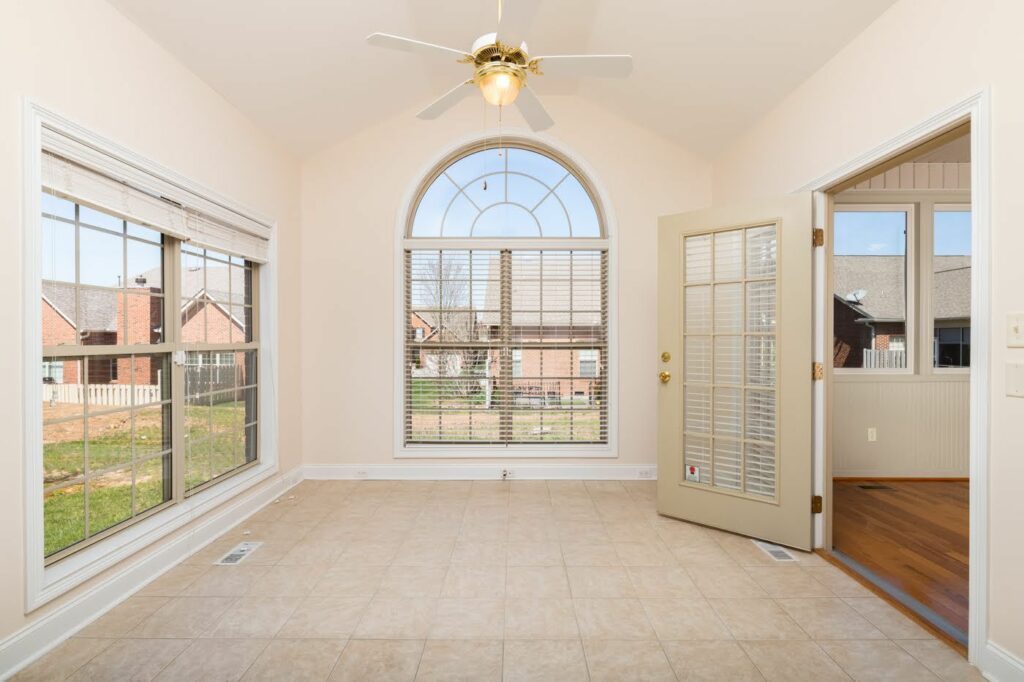
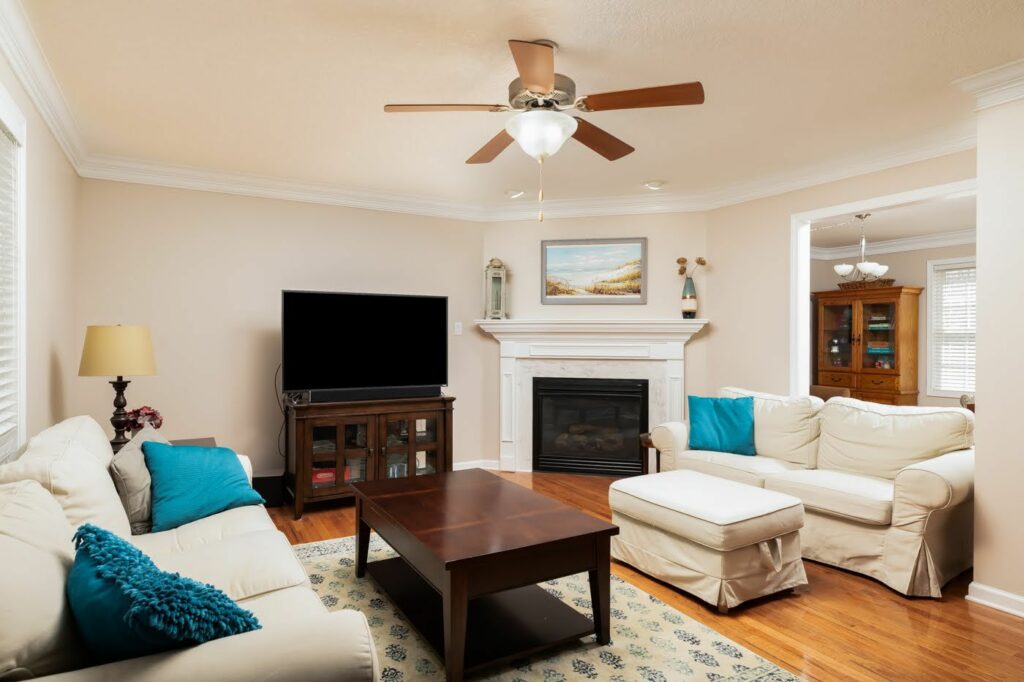
Meero requires you to do EVERYTHING in HDR and ONLY with natural light. As a professional architectural photographer I appreciate HDR and what it can do in certain situations. That said, there are simply a lot situations where using flash will produce a better quality image.
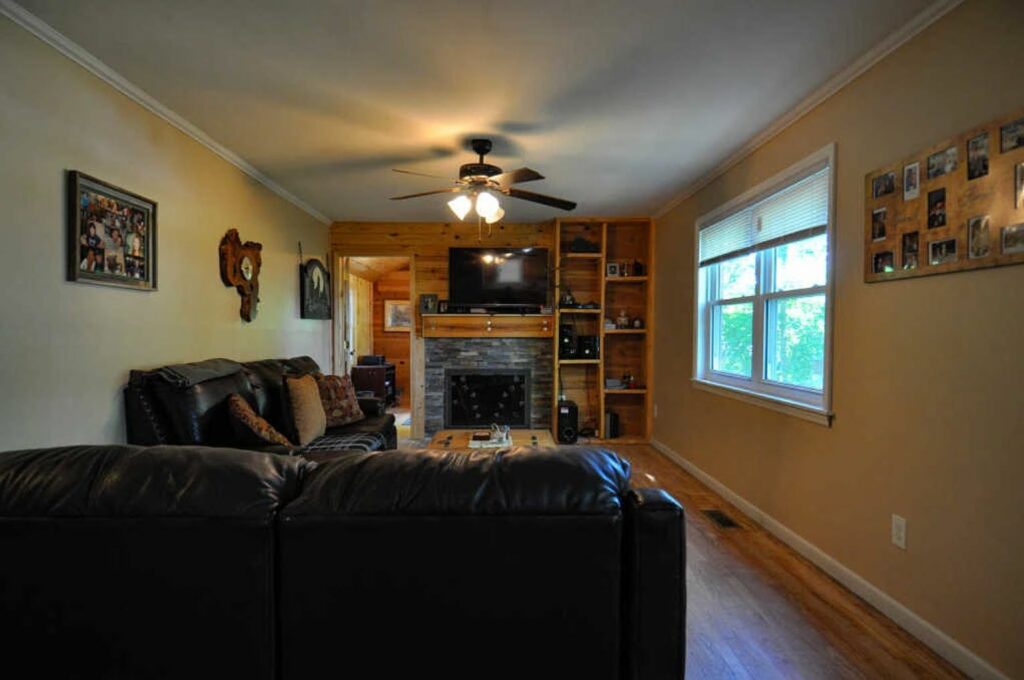
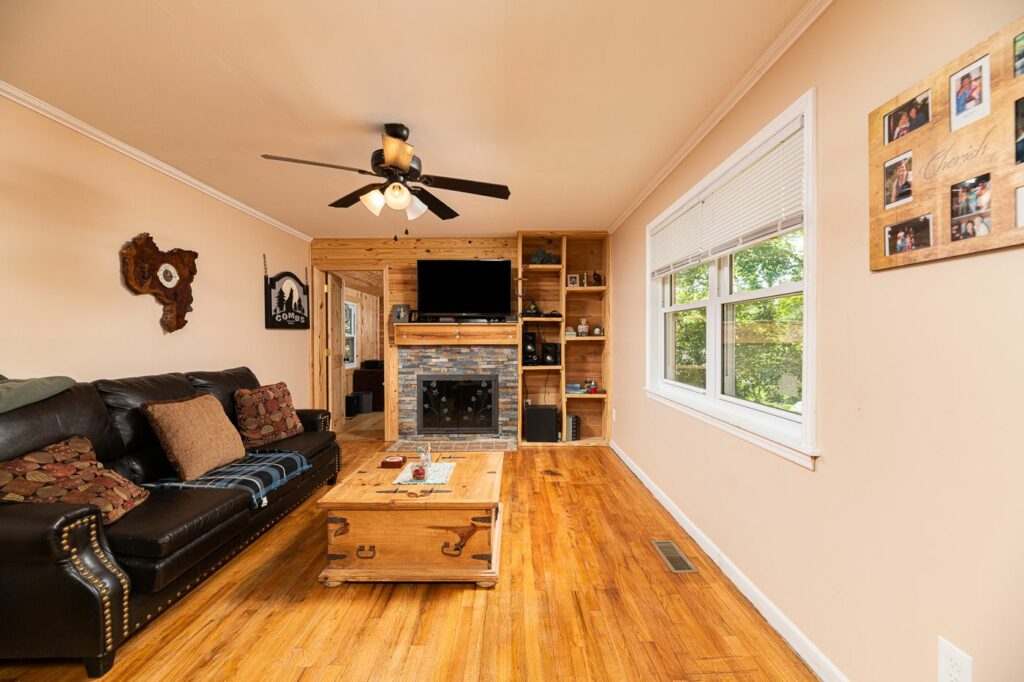
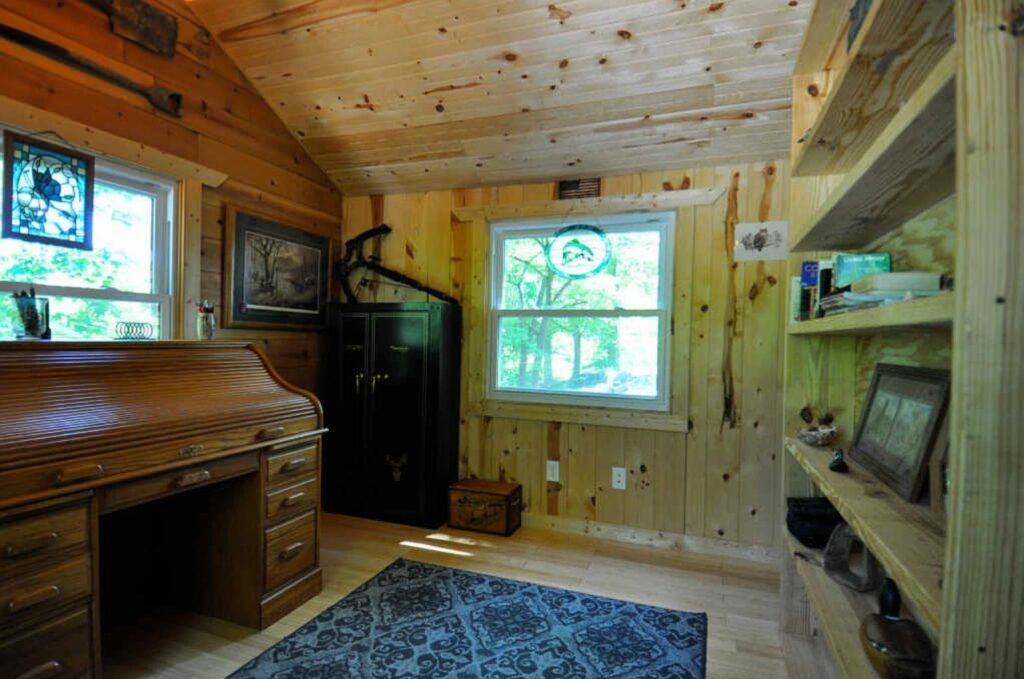
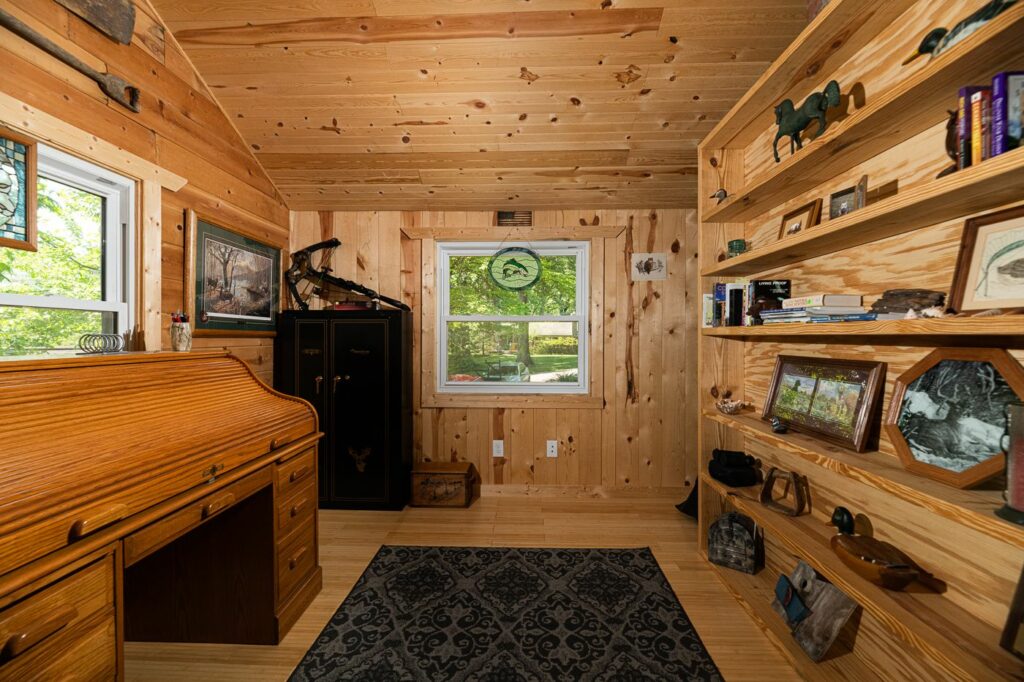
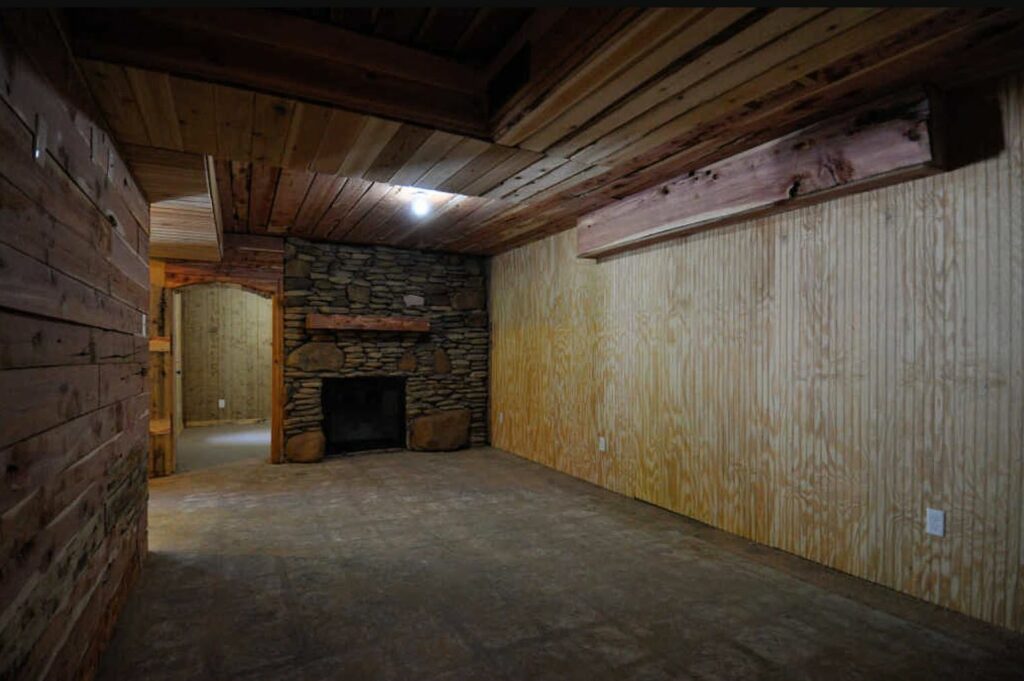
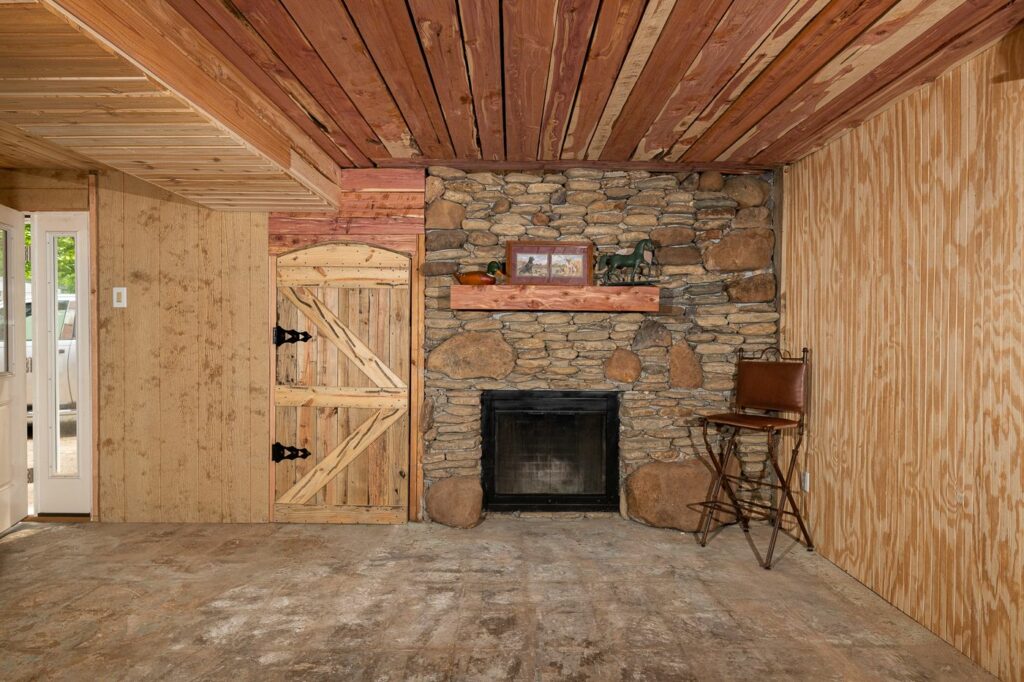
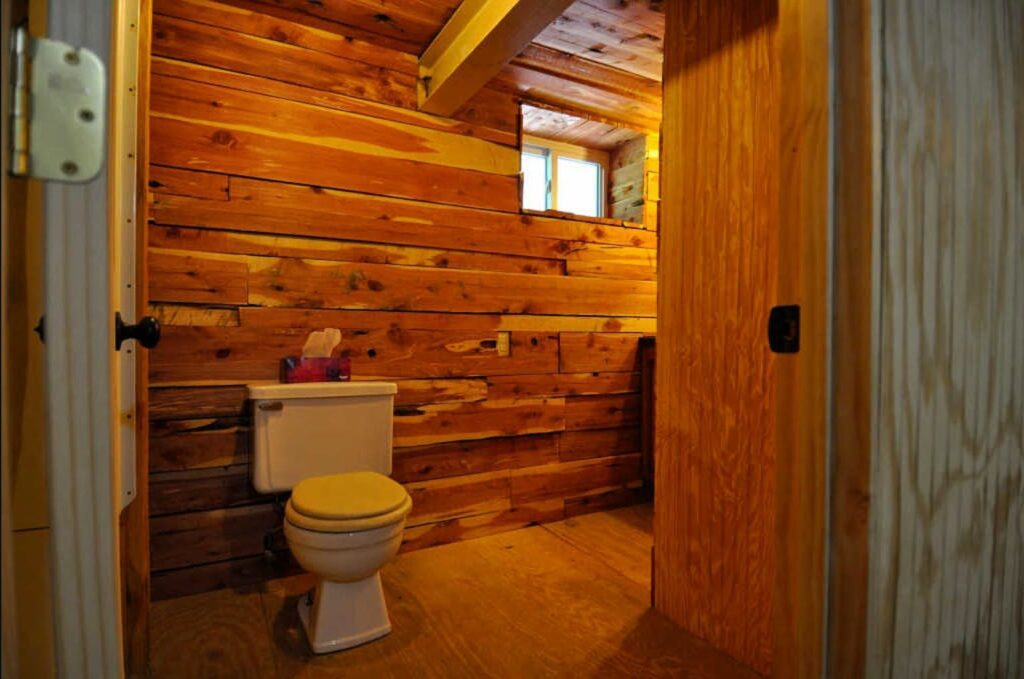
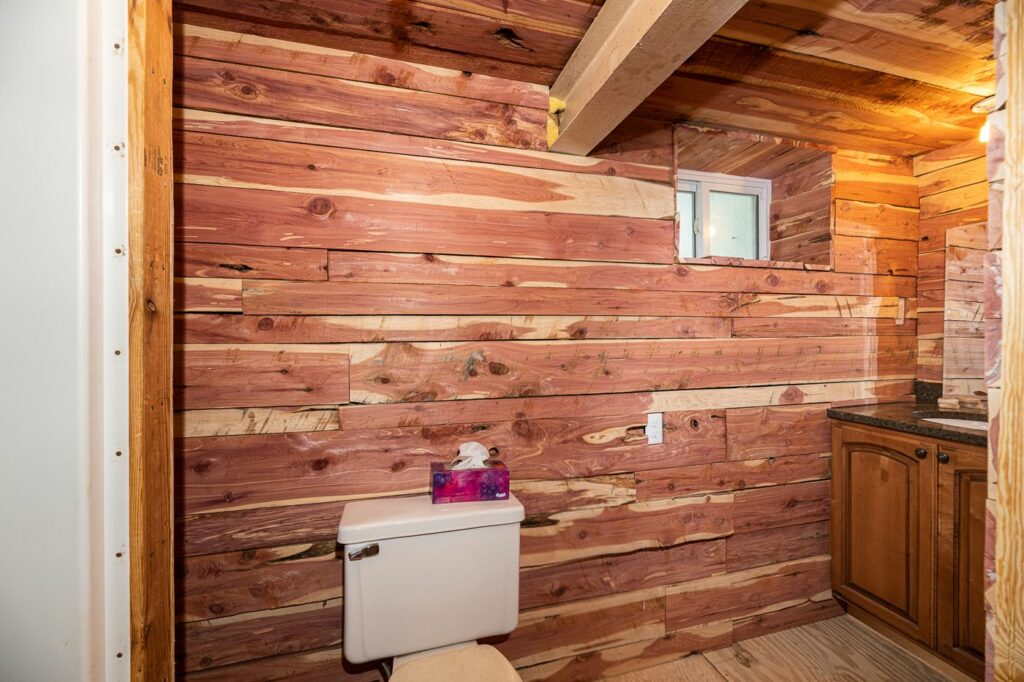
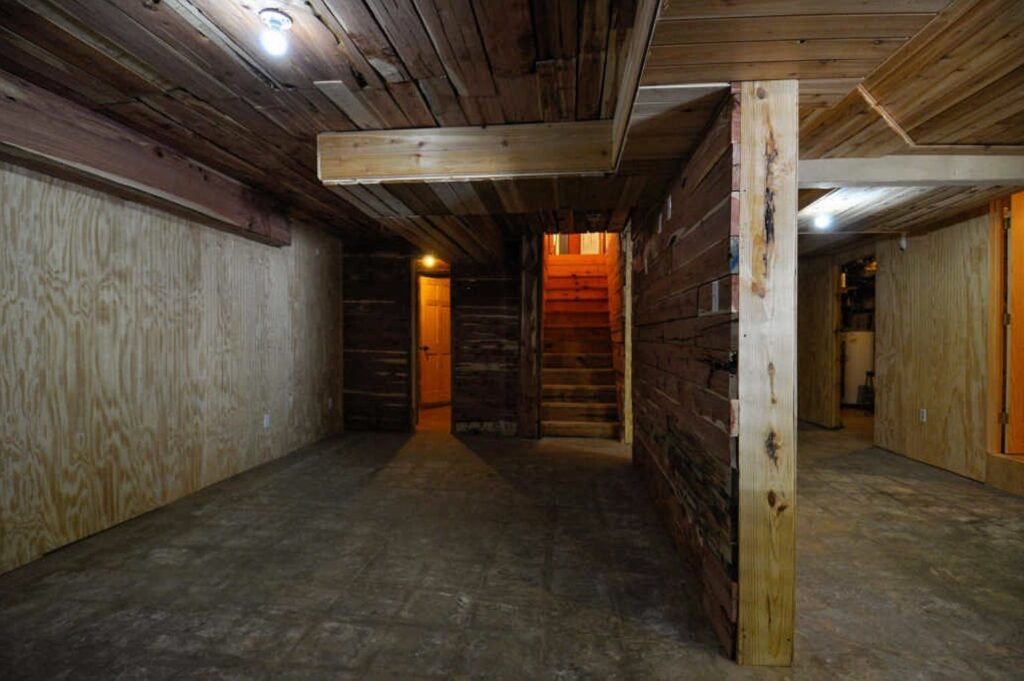
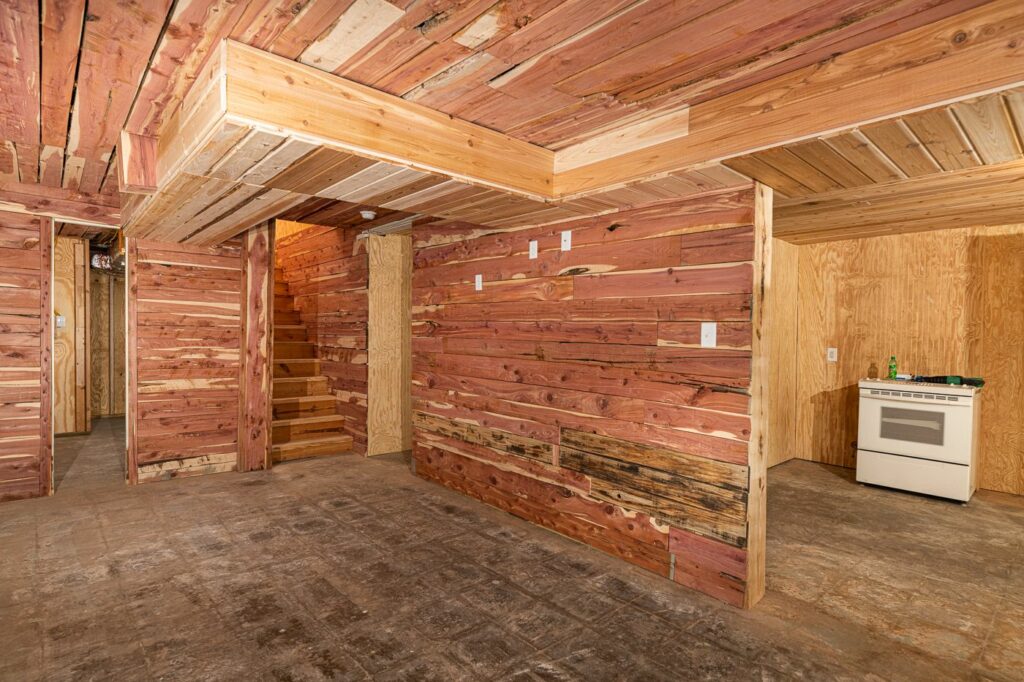
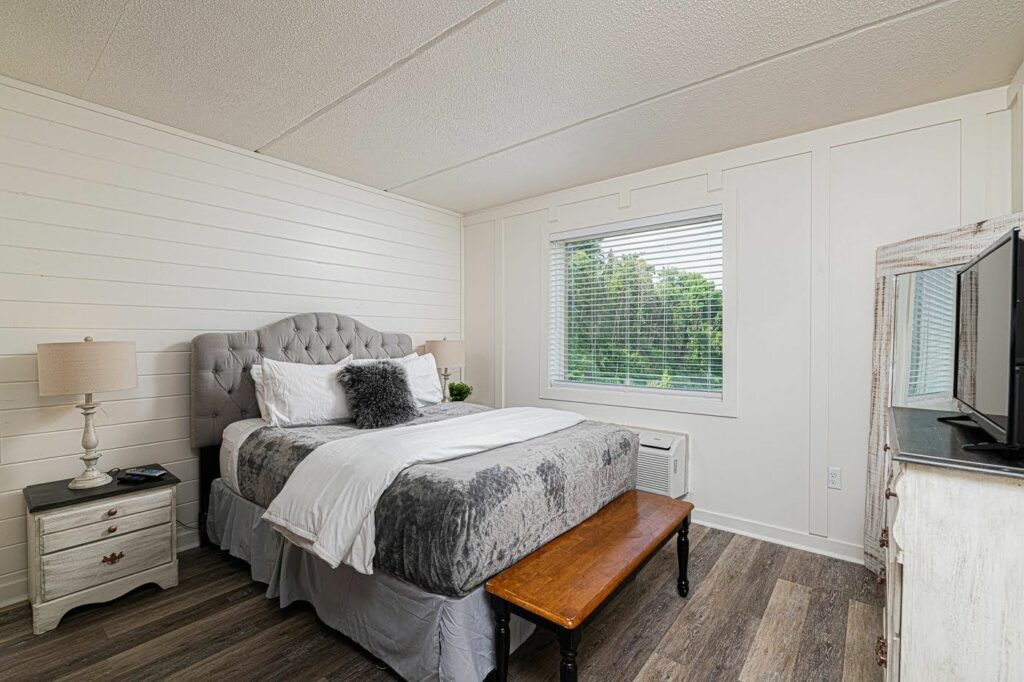
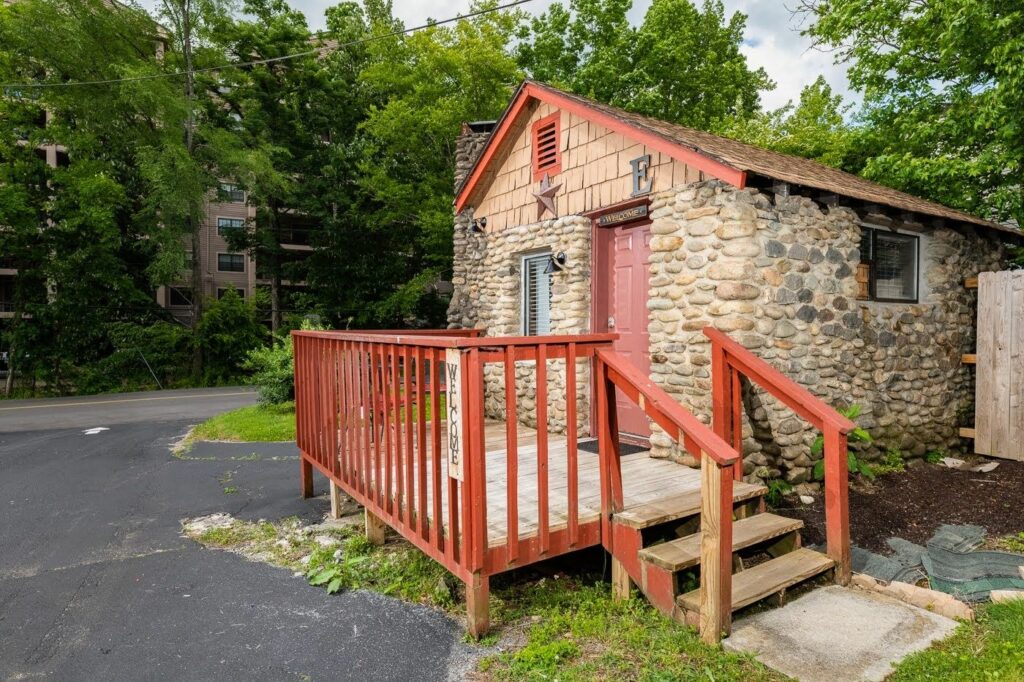
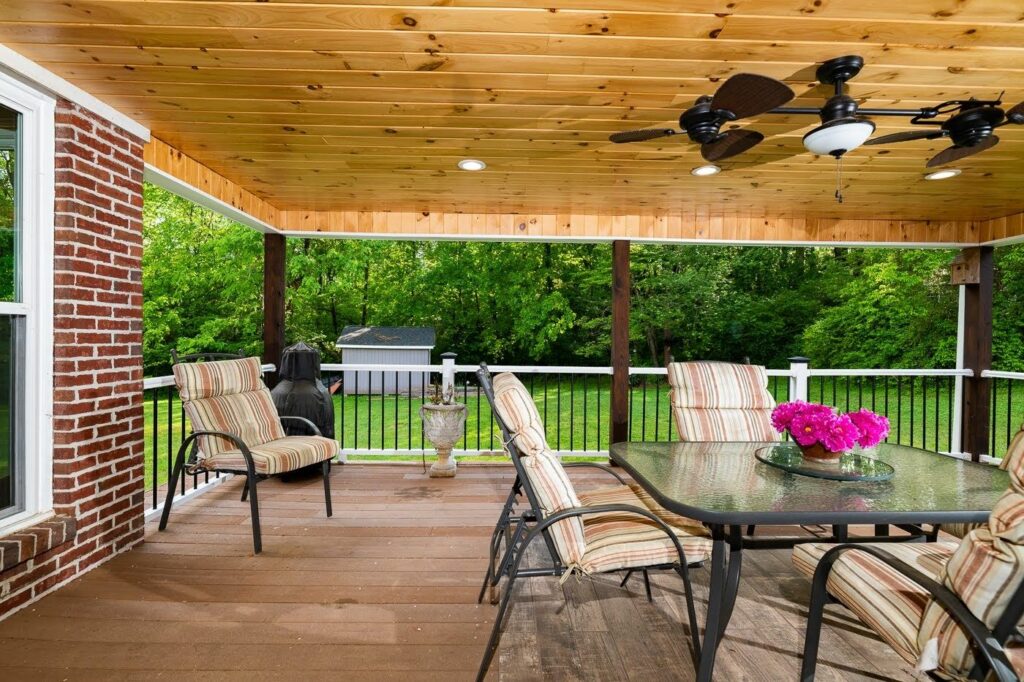
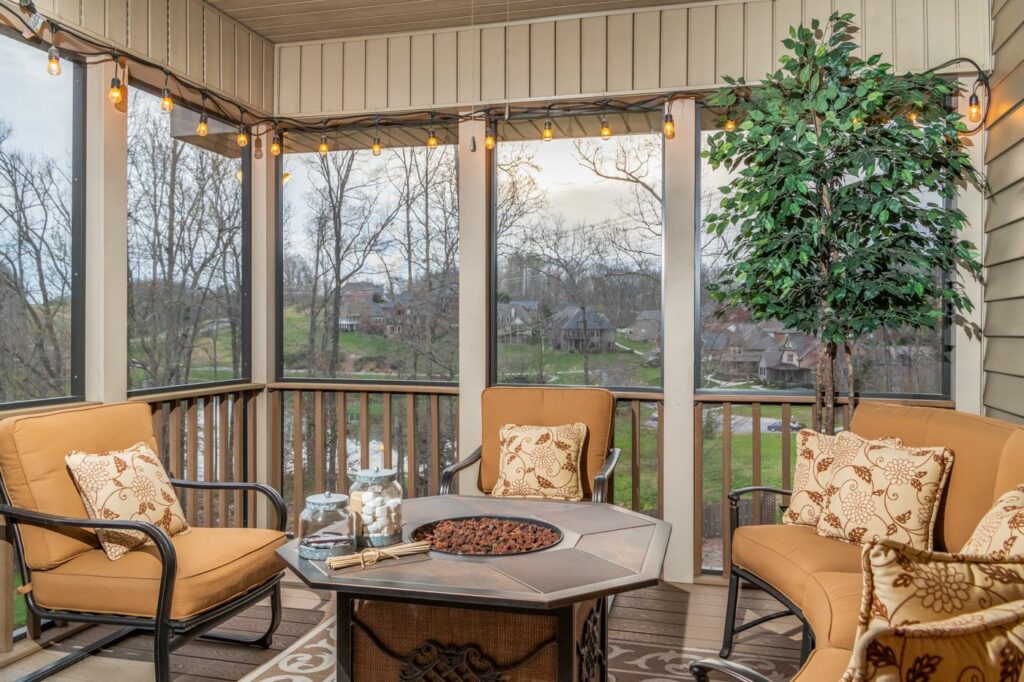
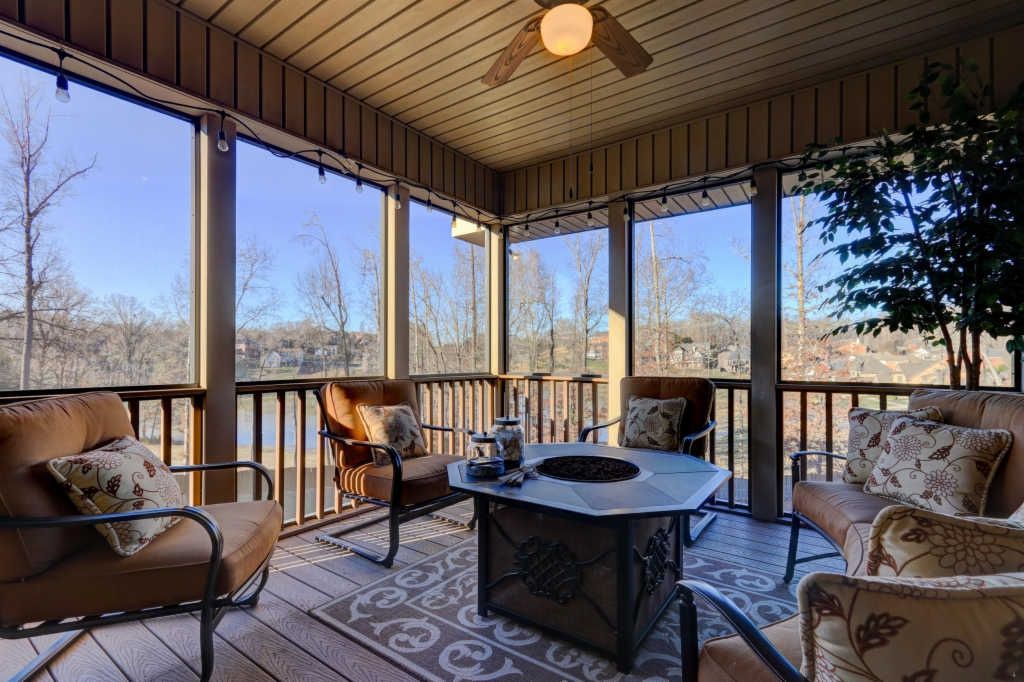
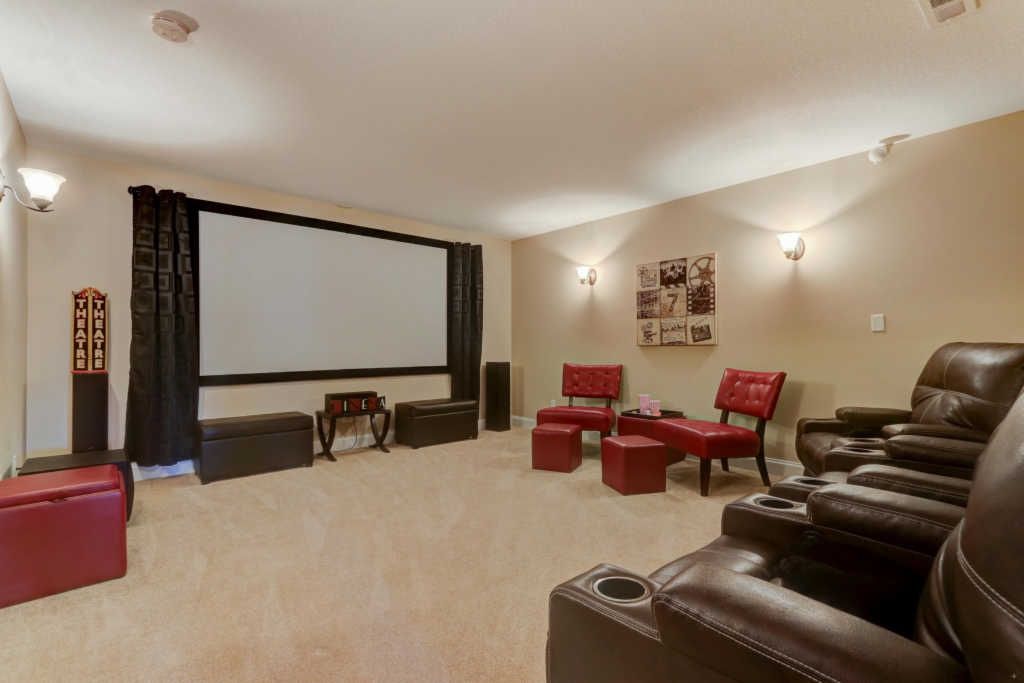
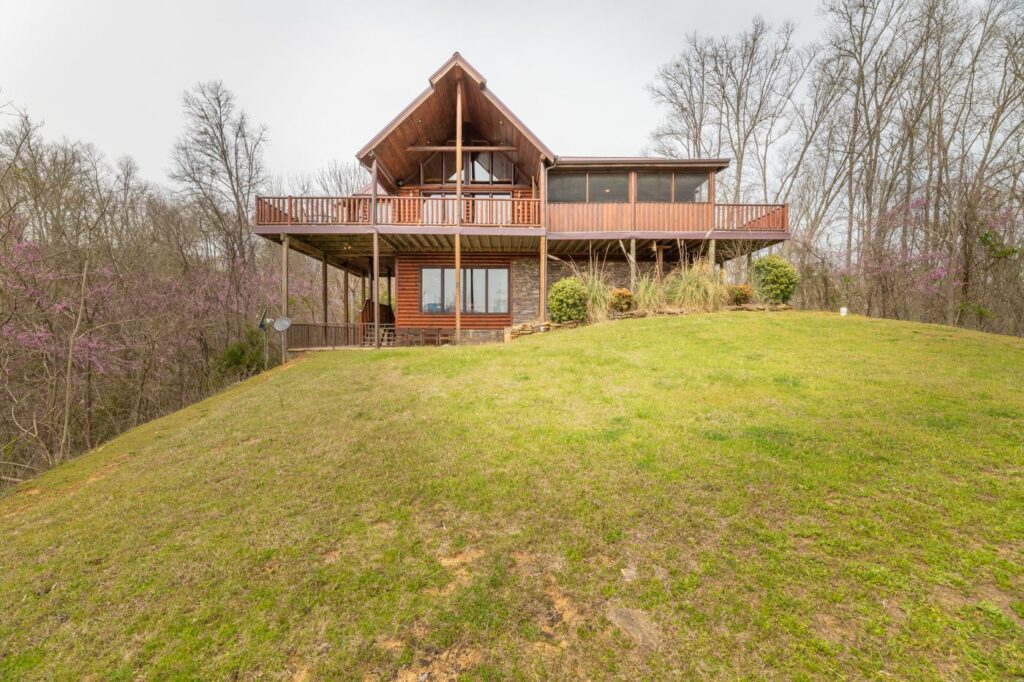
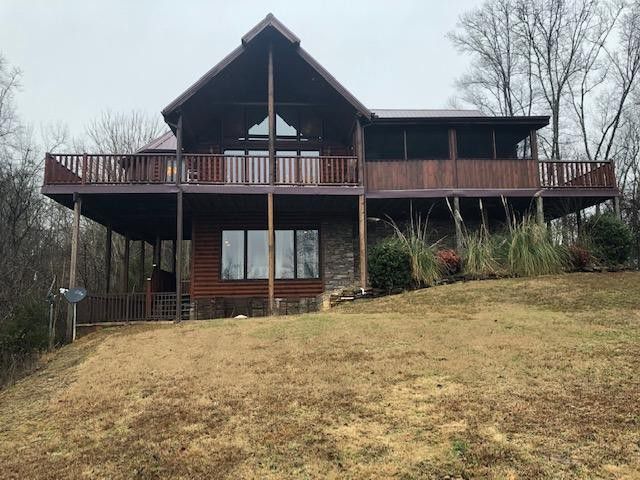
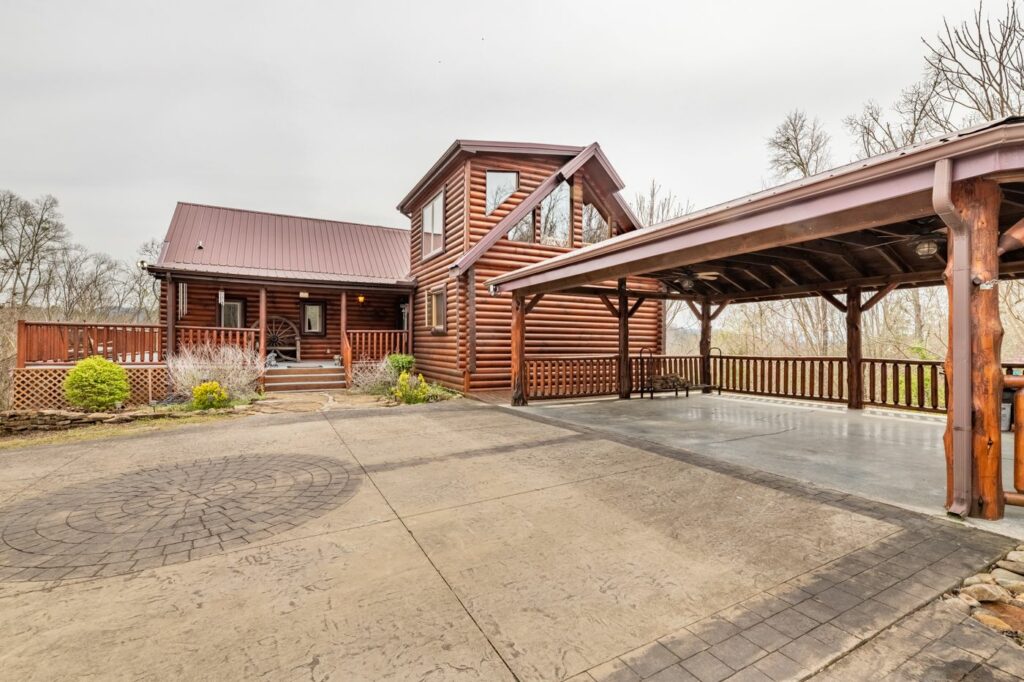
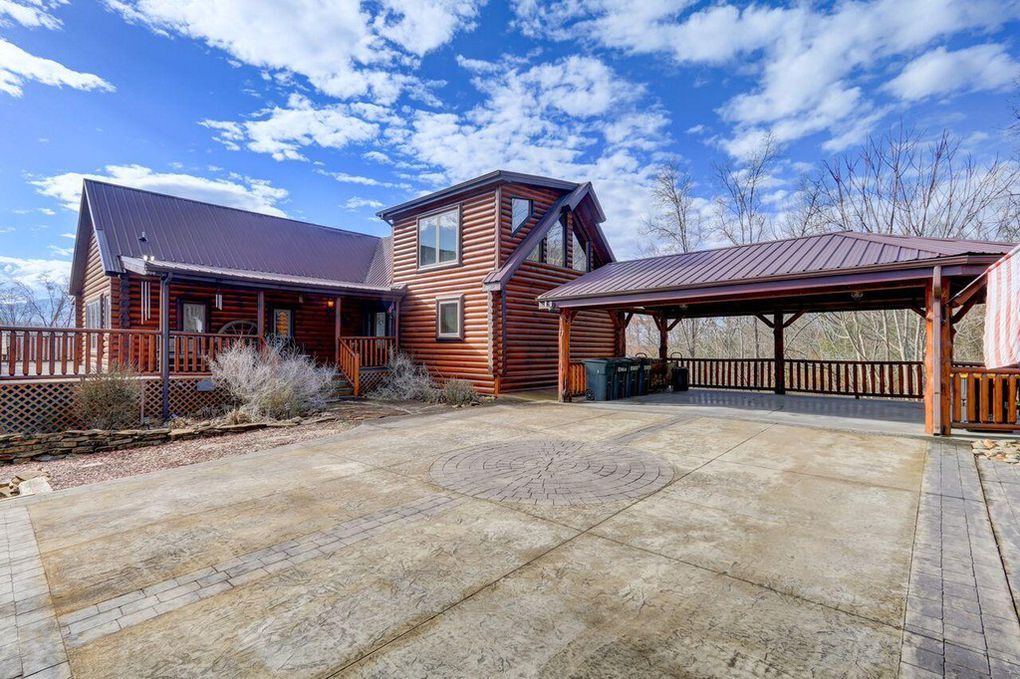
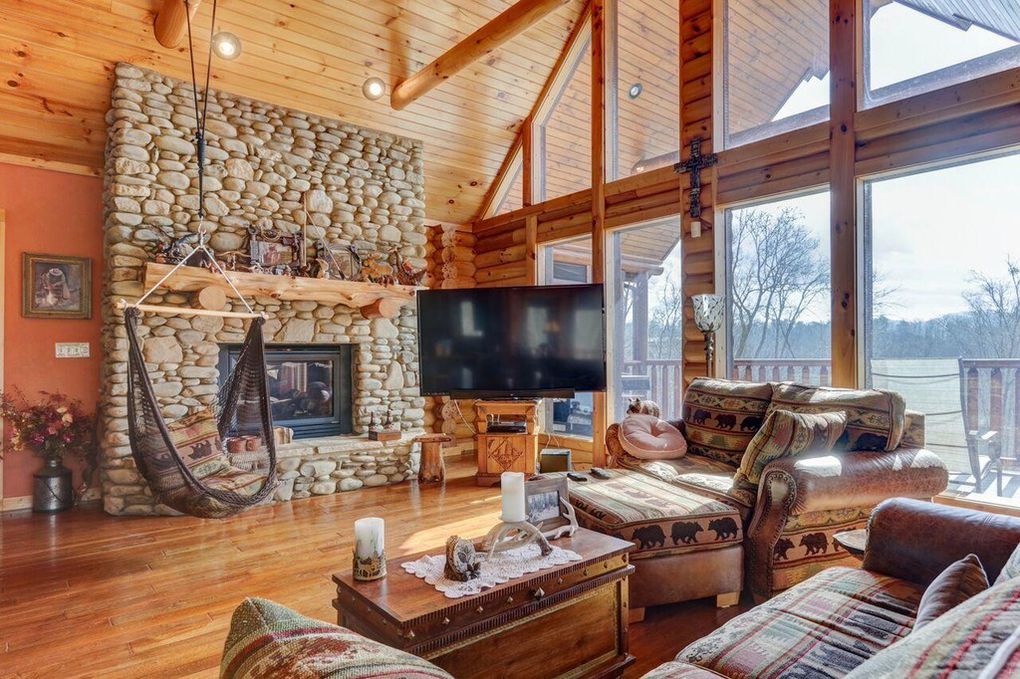
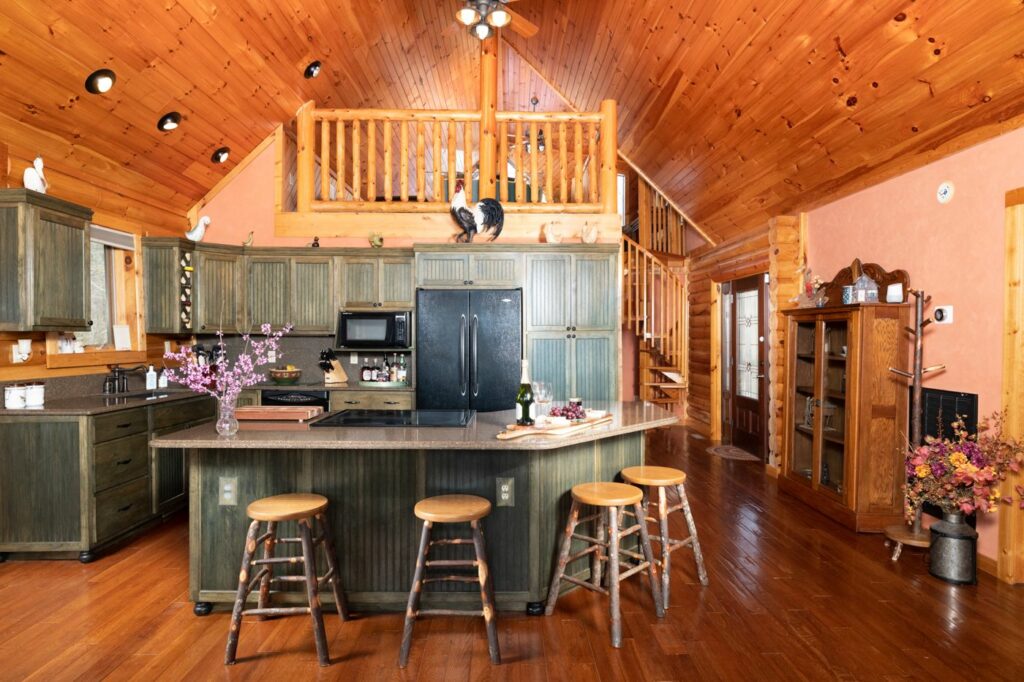
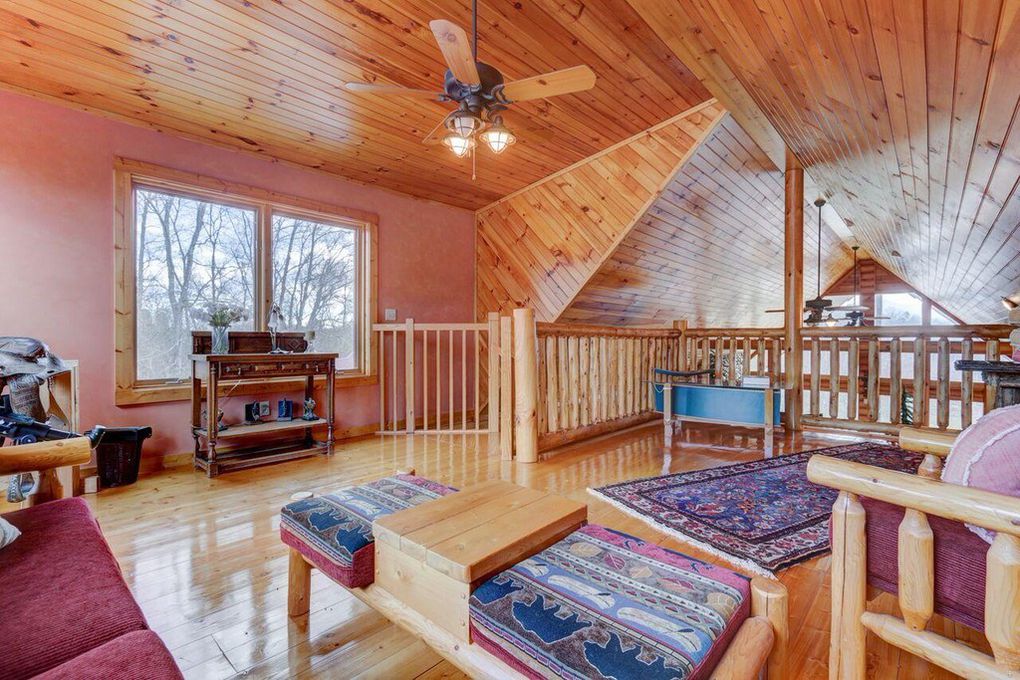
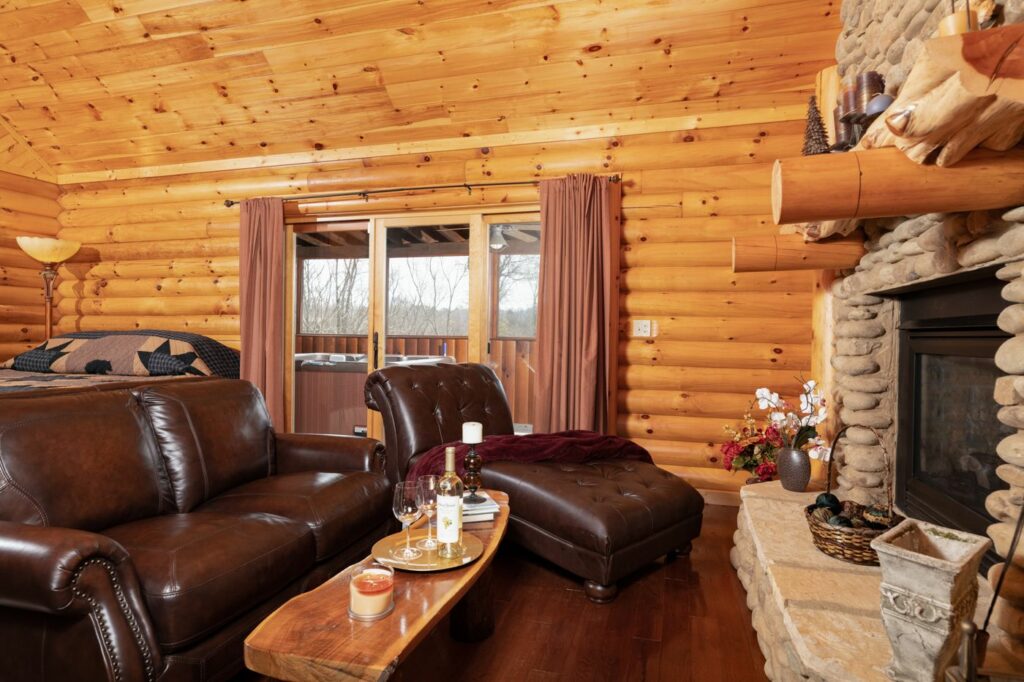
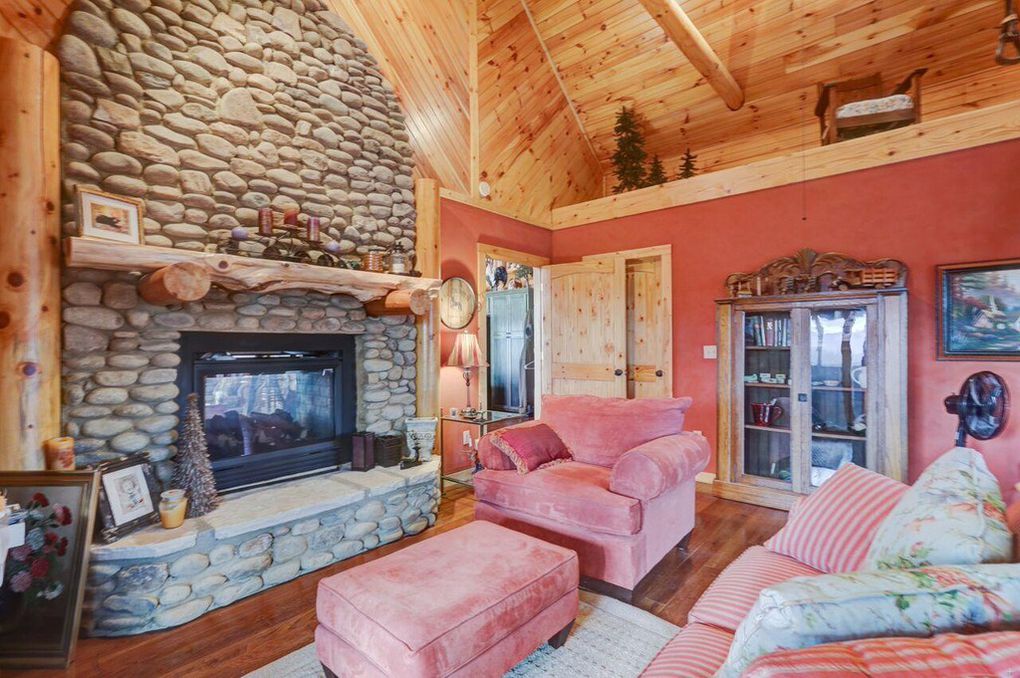
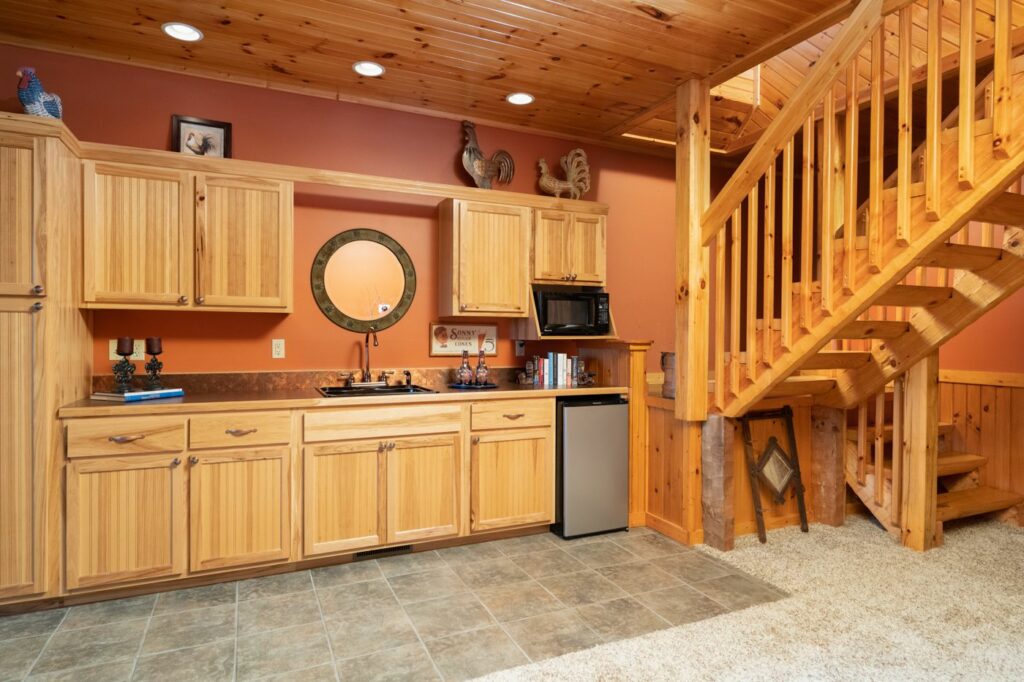
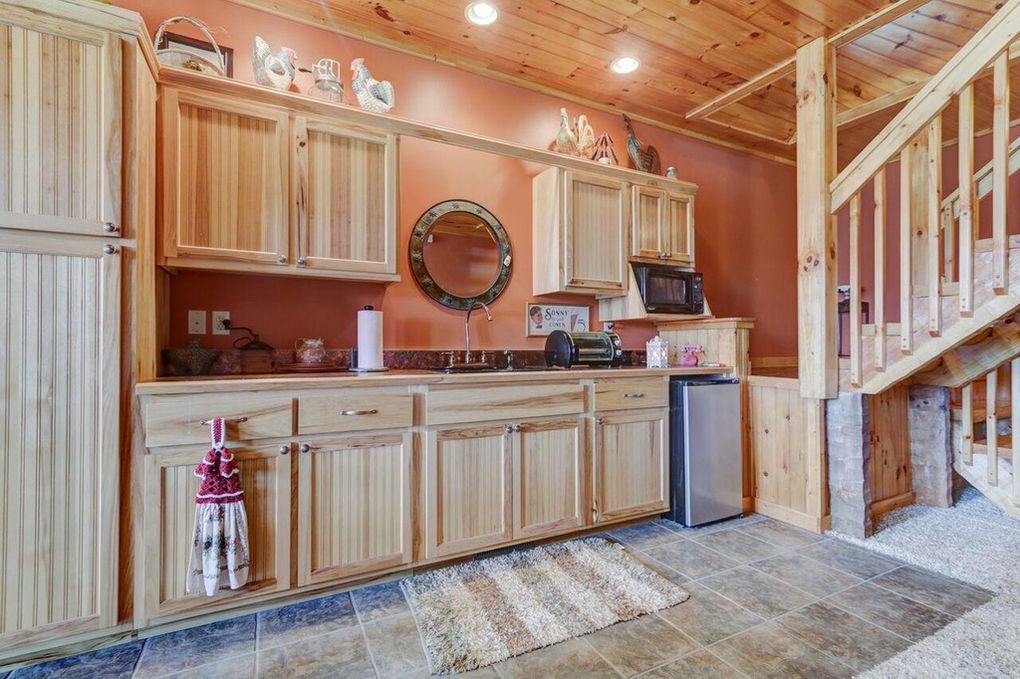
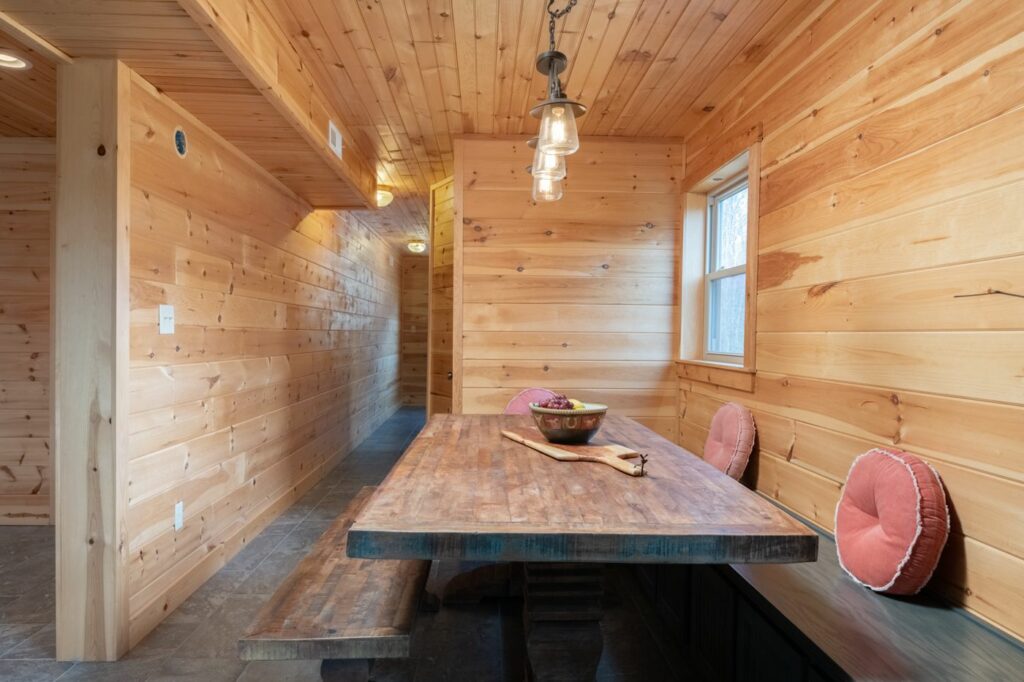
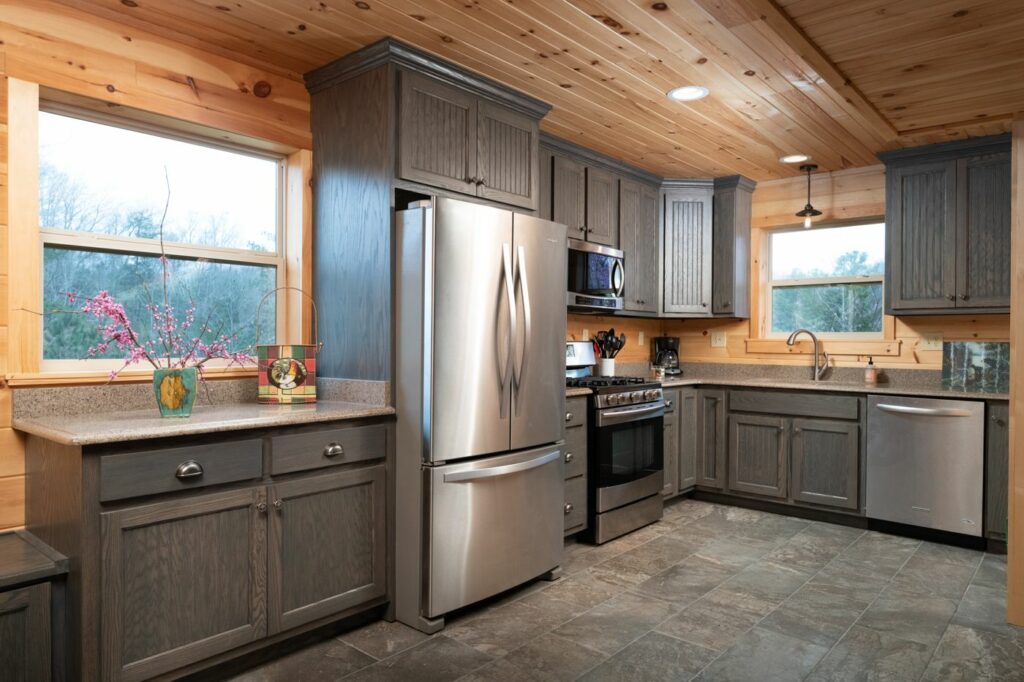
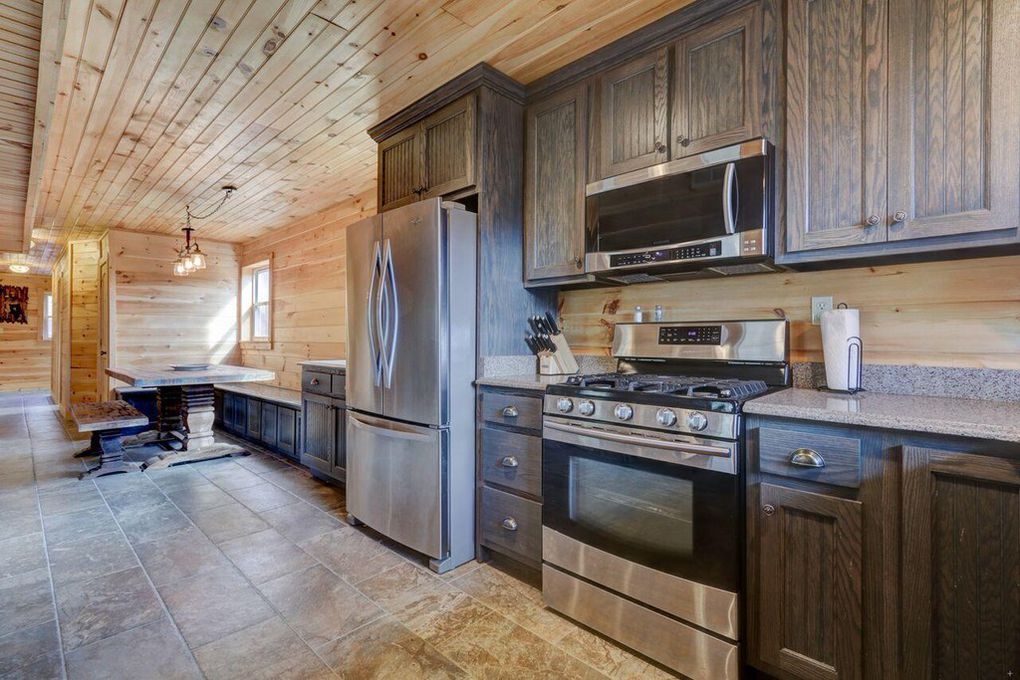
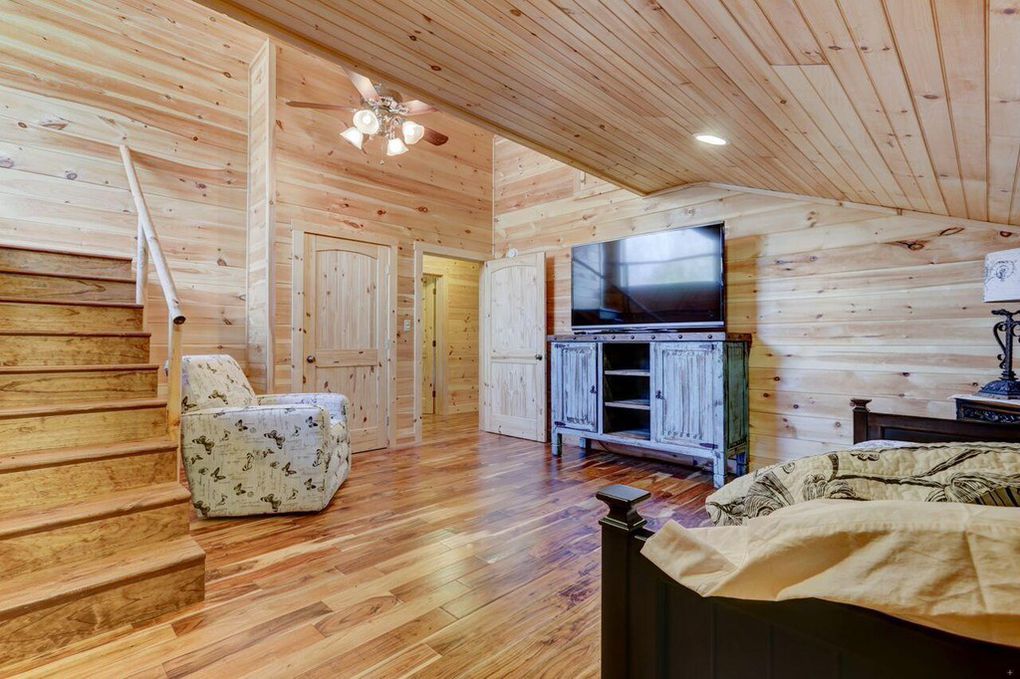
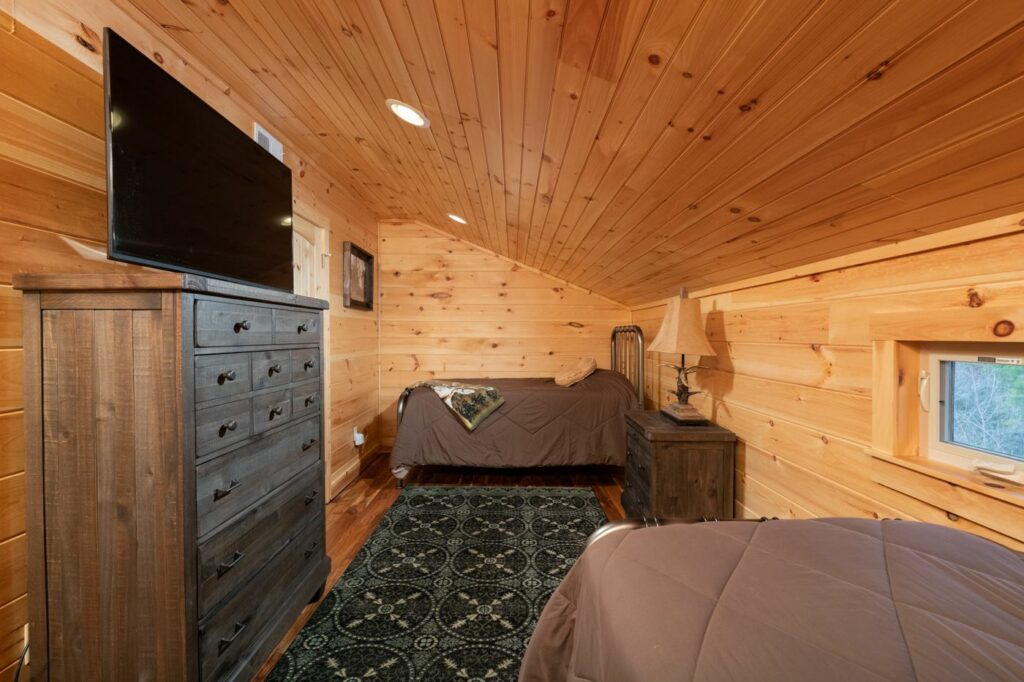
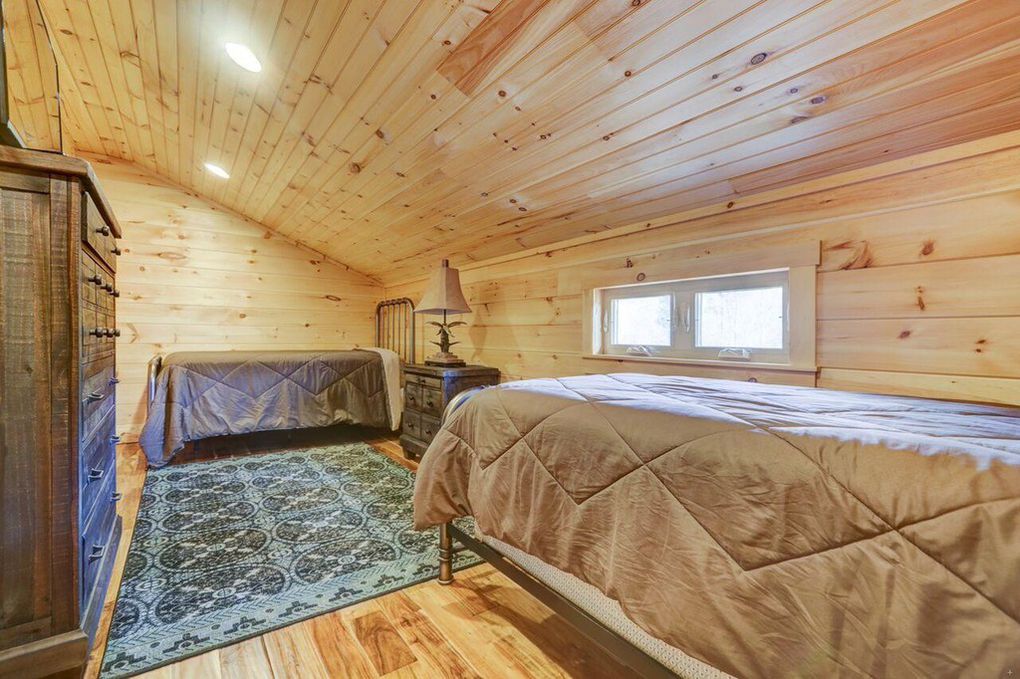
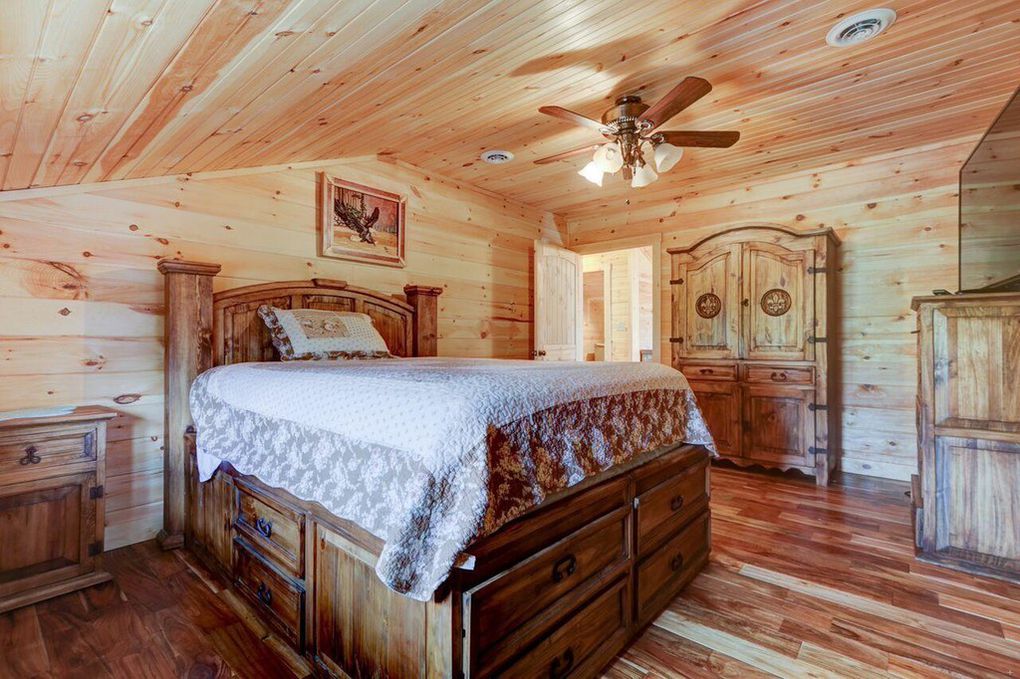
For example, there are a lot of cabins that are vacation homes with amazing views. Wood walls/ceilings and floors in a high dynamic range situation is not ideal for an HDR approach.
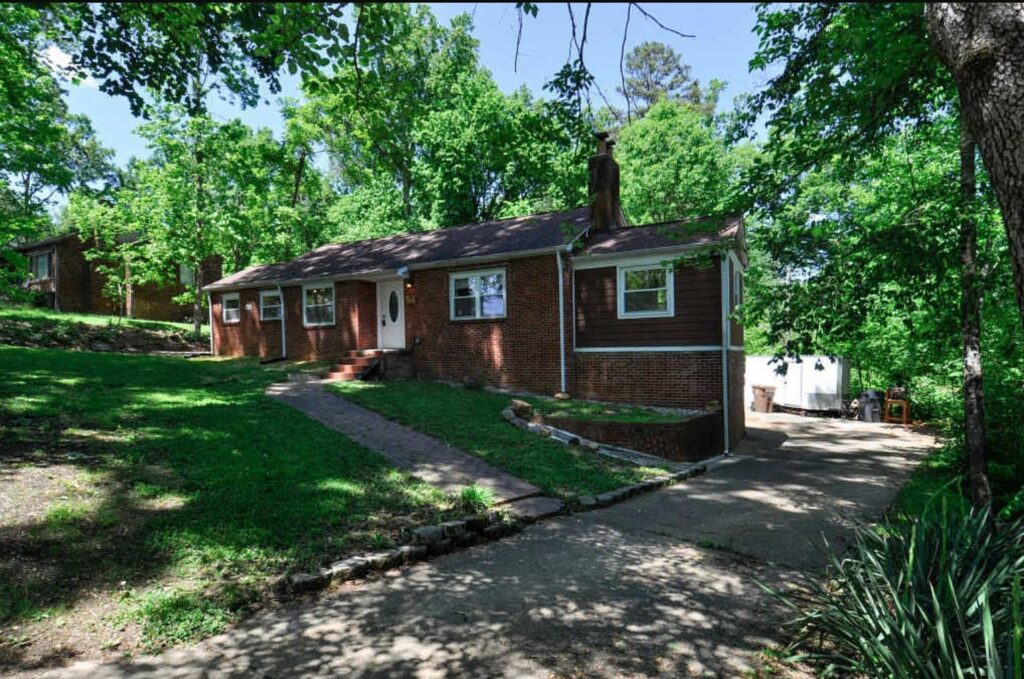
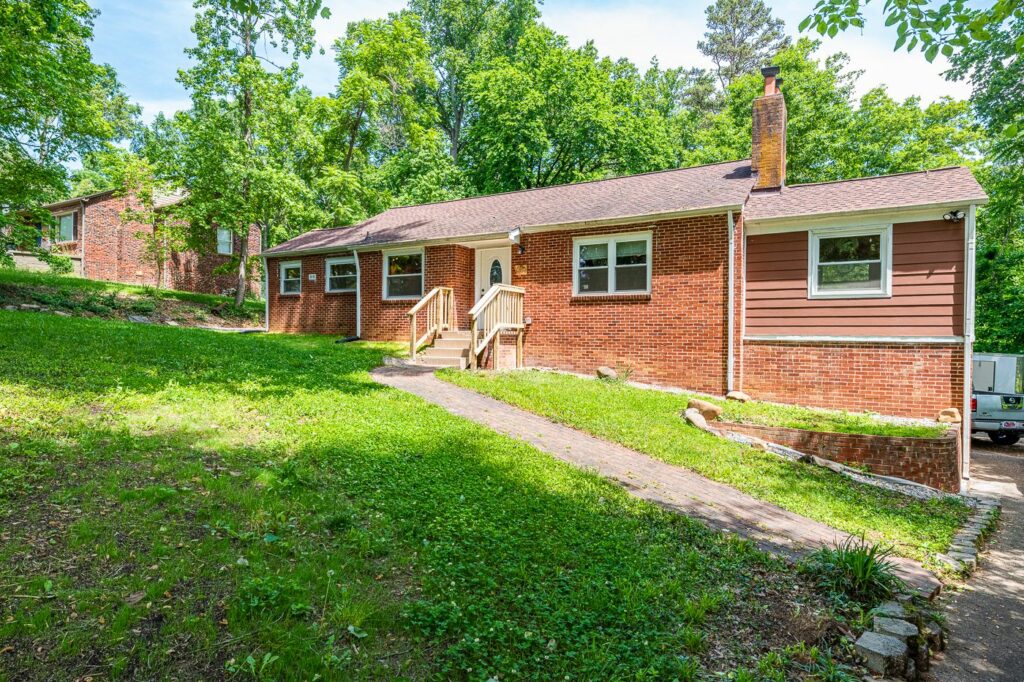
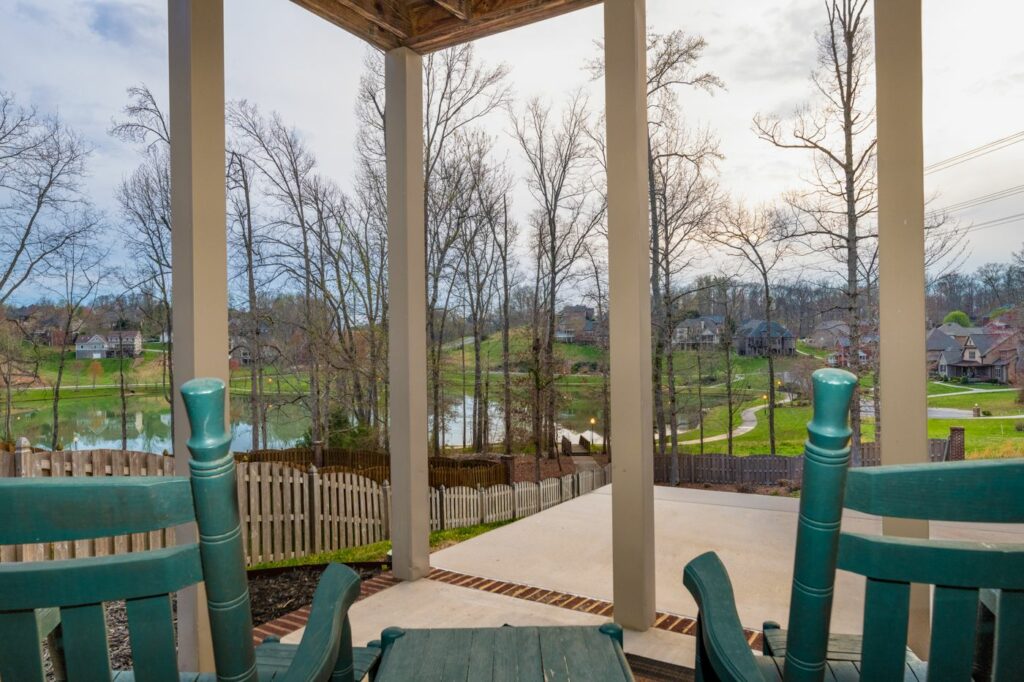
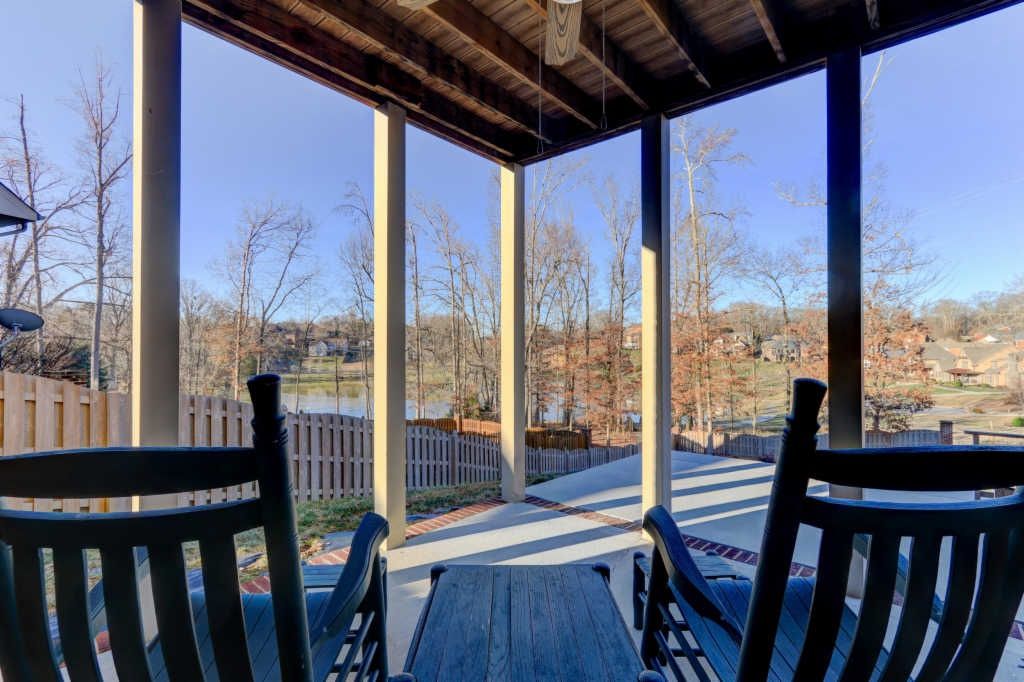
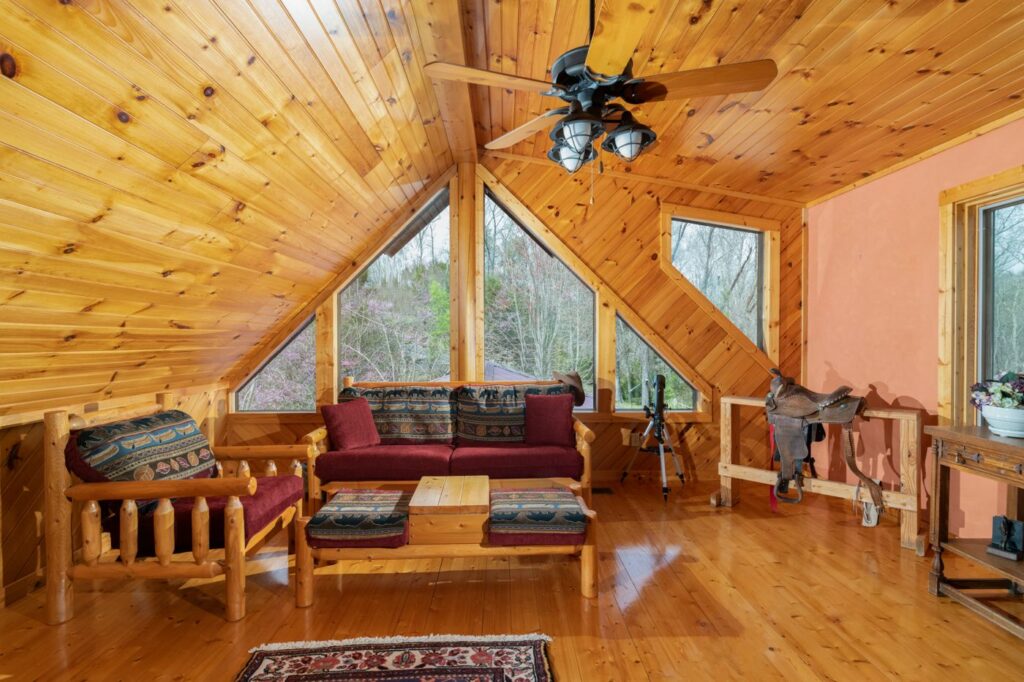
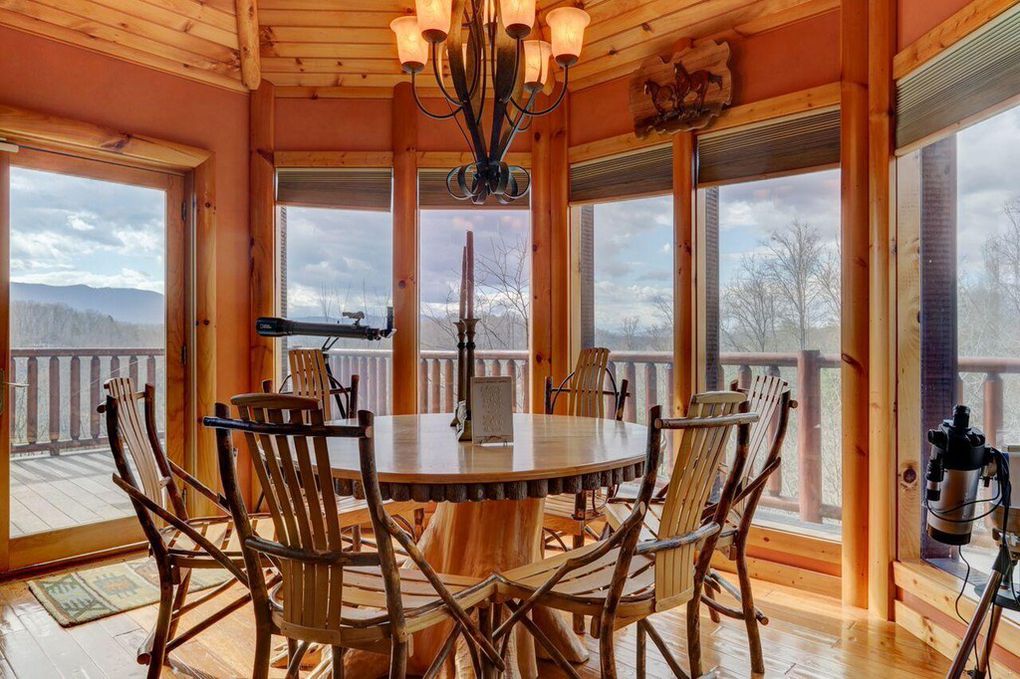
In addition, some properties with special features like views…etc are better shot during a certain time of day. I understand a little 3 bedroom 2 bath home may not require special planing or lighting for that matter, but some of these properties are multi-million dollar properties. I know if I were the owner I would be pissed to have the photos taken at Noon with a 3-4 image bracketed shot.
Ironically, in order for you to have your property on AirBnB’s “Plus” program these are the photos used, even if the host already has much higher quality images on hand. So yes, I would say in a lot of cases AirBnB Plus is a downgrade to the property owners.
There have been multiple occasions when I’ve had an existing client pay me to go back out and re-photograph the same property so they could have excellent images to market their property with.
- Uploading your images… Total time spent Vs What you get paid.
Unfortunately, technology isn’t always reliable but I think it’s CRAZY that Meero FORCES you to use their horrible platform to upload all of your images. Before you start doing the math on how much Meero pays you, you really need to take into account how much time you will spend at the end of the day uploading your work.
The sad part isn’t even how long it takes to upload, it’s the fact that their website constantly crashes, multiple times during the upload, regardless of your internet connection, internet browser and or operating system. Trust me – I’ve tried them all.
This also is not an isolated incident, in fact, It’s a guarantee on EVERY shoot I’ve uploaded this year. (Little secrete – If your interested or are already working with Meero – Upload only 10 images at a time. This way WHEN the website crashes, you don’t have to start all over, you can simply pick up on the last images that wasn’t successfully uploaded.
So by the time you take into account doing the property inspection (which I haven’t even started on yet) taking the photos and uploading all of your images you very well could be making minimum wage.
- No, your not a photographer, you are a property inspector
So let’s quickly re-cap here…. Not only do you have no rights or ownership over the images you take, nor the control over how they are edited, but you have to do a property inspection too? This sounds less like professional photography and more like a glorified property inspector to me… I mean after all, what professional photographer would give up all of their own image rights and go through a long checklist regarding the condition of the property? I mean, other then a photographer working for Meero.
To be honest, the property inspections aren’t that bad, nor do they take a lot of time to complete however, again, your uploading images you take on your phone as you go through the list and the app seems to always crash on you if you go to fast (probably because it’s trying to upload everything your capturing with your camera phone in the background.)
Meero is more like working with a bureaucracy then a client and/or professional marketing agency. With broadcast emails being sent to all photographers regarding what some photographers are doing wrong and monthly newsletters about changes to their guidelines you get the sense that your working for a large faceless company.
Overall, I would say that this company is fantastic for amateurs who are looking for some part time work or retired professionals who don’t want to take family portraits at Sears. (oh wait, Sears isn’t around anymore….)
If you are a professional however, and you treat your work more like an art form; and you have a reputation you want to either build/protect I would no way recommend working for Meero. If you are another professional photographer and would like some further insights regarding this company, by all means, please feel free to reach out!