No question putting your home on the market is a stressful experience. With everything going on what needs attention can sometimes get lost in the fog. This posting can help set you up for success not just in getting excellent photos, but also create effective showings.
Just a couple good tips and general advice on preparing your home to be photographed.
- De-clutter and hide clutter in the garage. The rule is, if there’s an item your not sure should be put off to storage, it should. De-clutter as much as possible! Typically the garage is not photographed so it’s a great place to store most clutter and unnecessary furniture. This will also make the home show better to potential buyers.
- Have carpets professionally cleaned. It’s a great idea to have the carpets shampooed just prior to the photo shoot. Having your carpets cleaned is very affordable and goes a long way when marketing your home to potential buyers.
Outside Areas
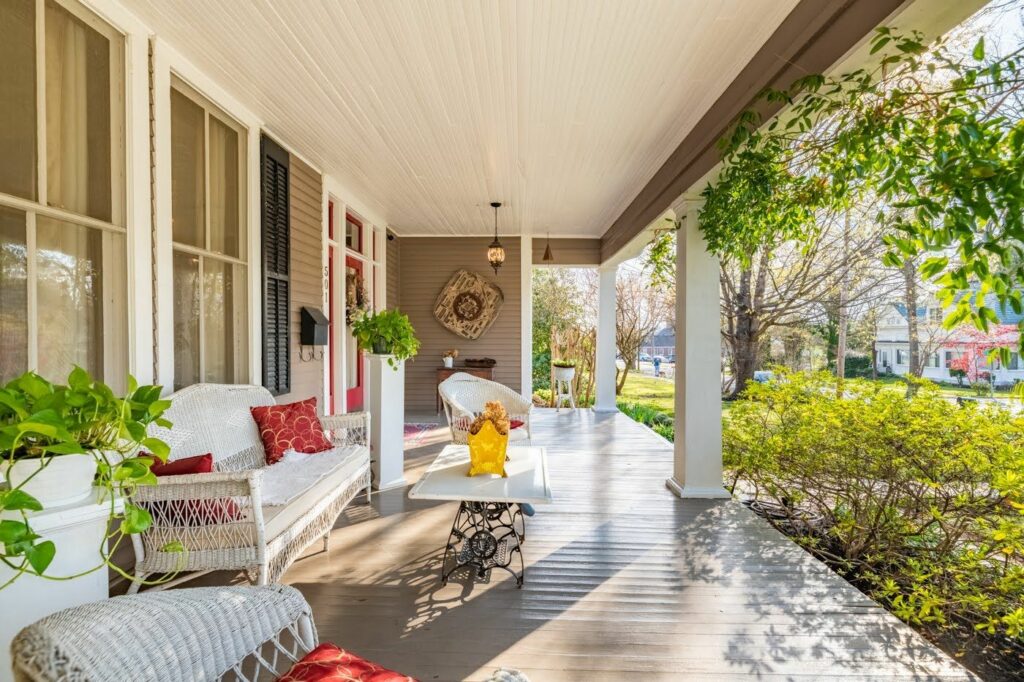
- Mow, rake and trim landscaping.
- Remove all clutter including water hoses.
- Remove any pool/spa covers.
- Power wash all driveways, sidewalks, patios and entryway
- Clear any clutter on patios
- Uncover any bbq grills
- Remove any pool toys/equipment


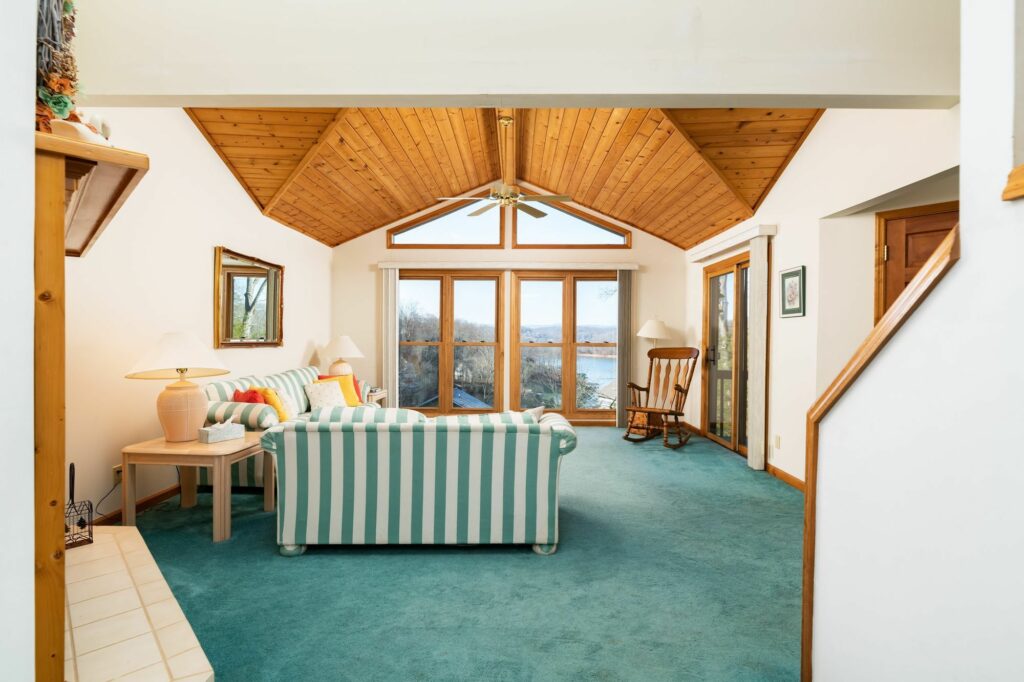
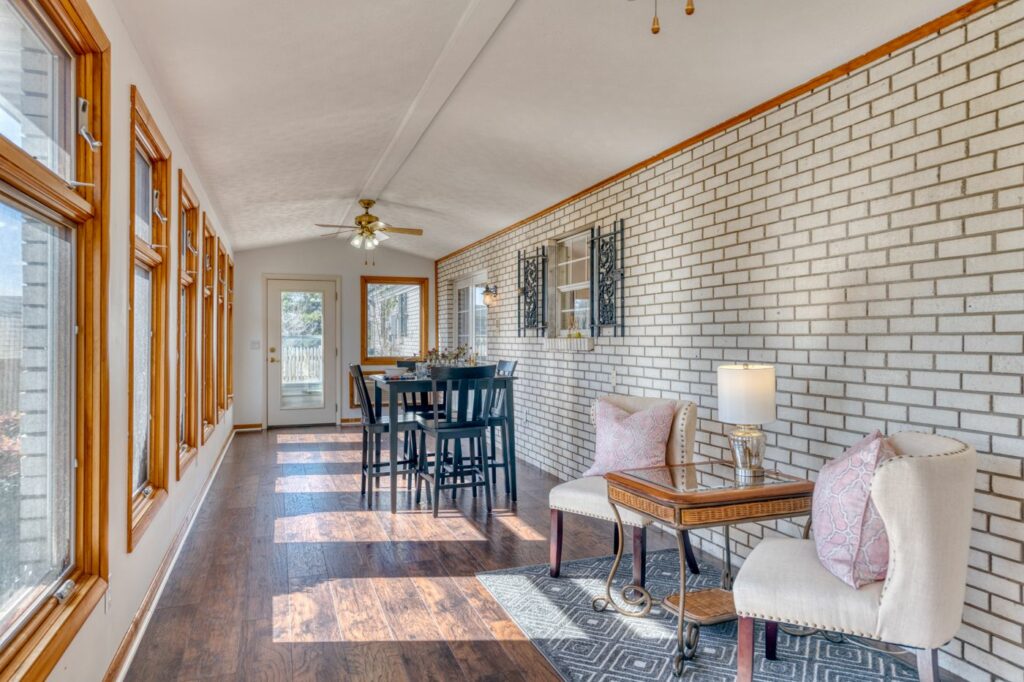
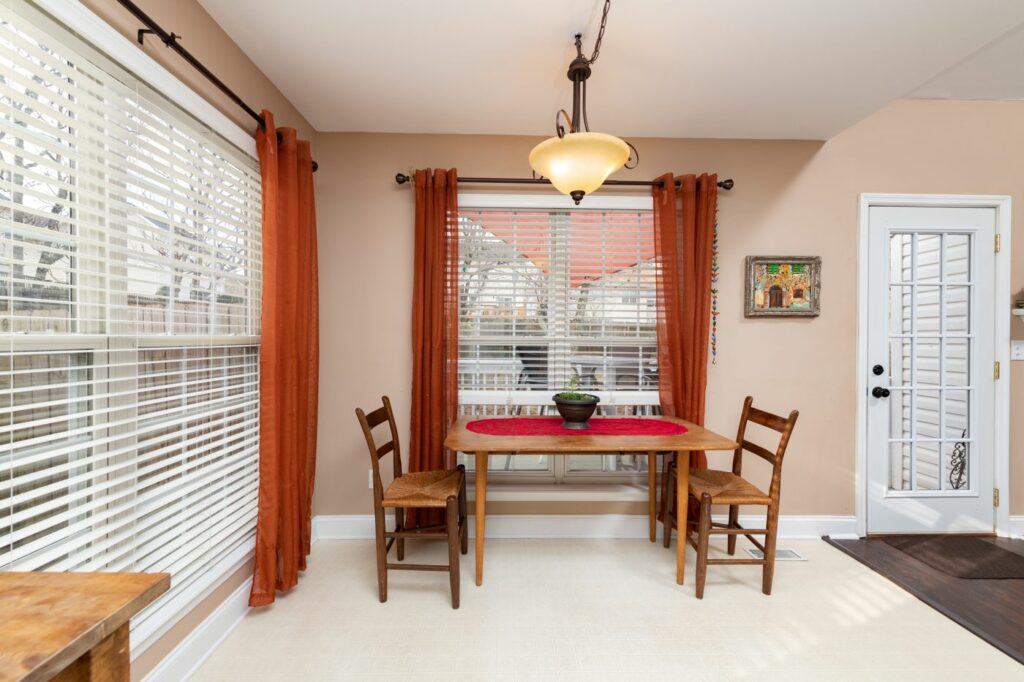
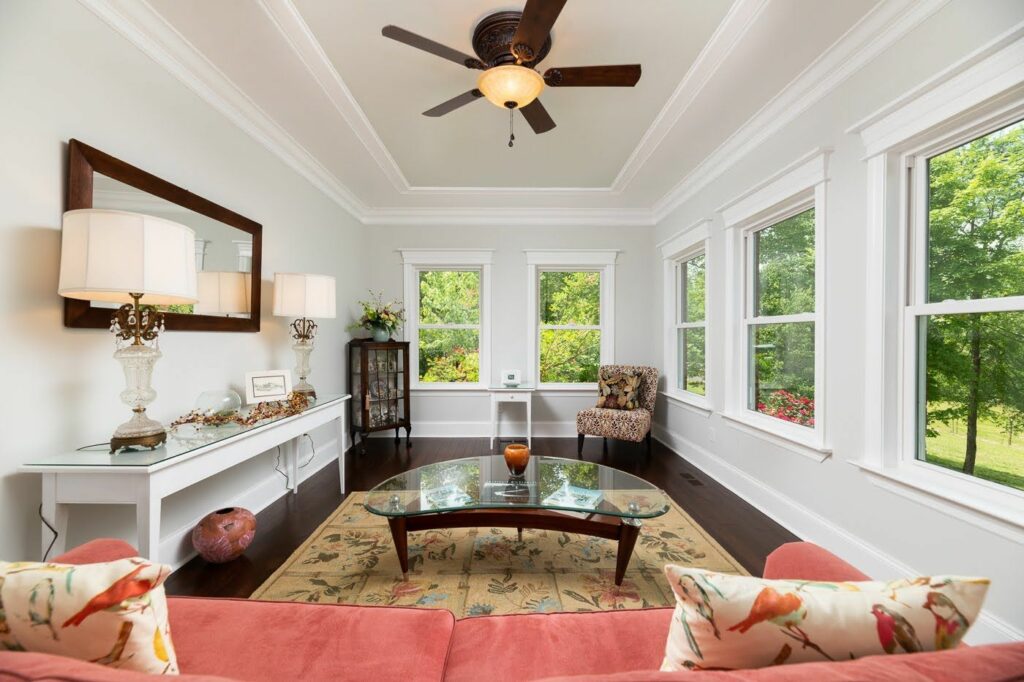
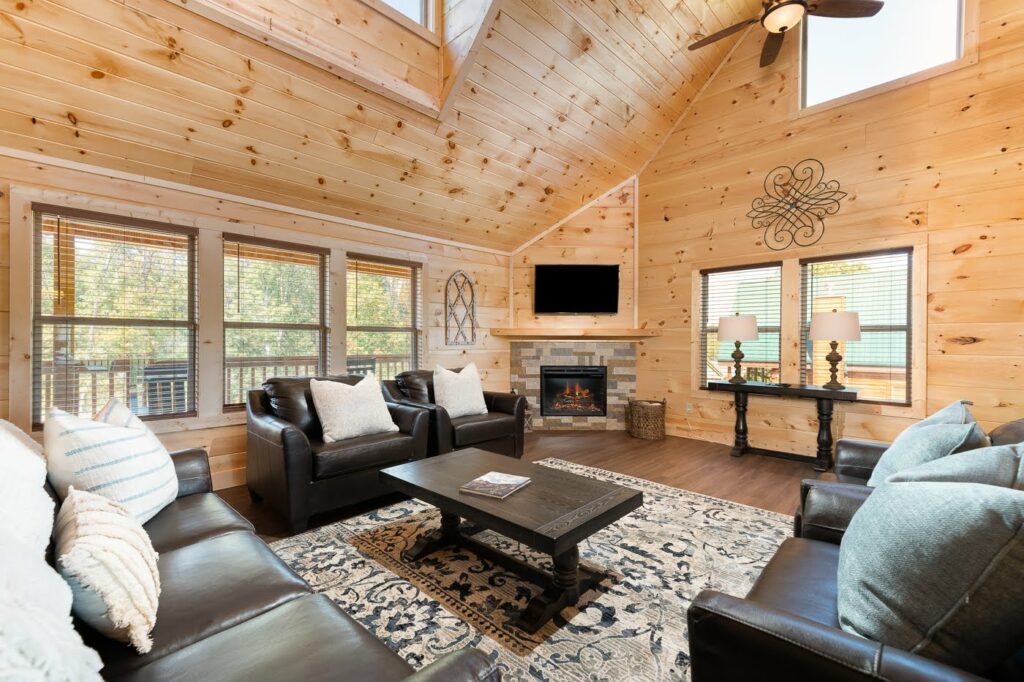
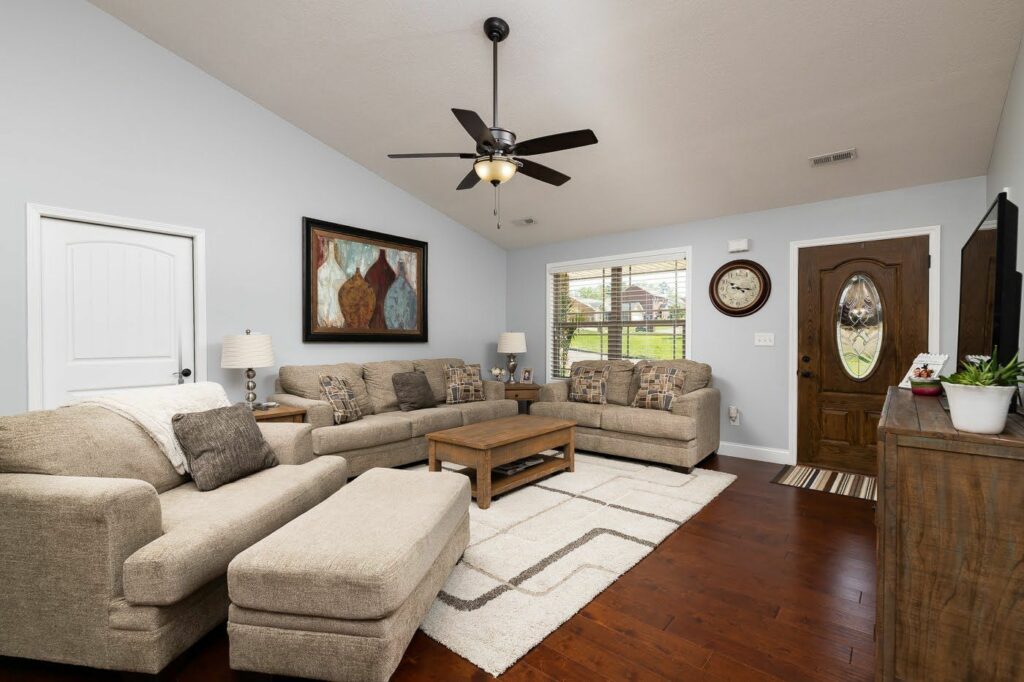
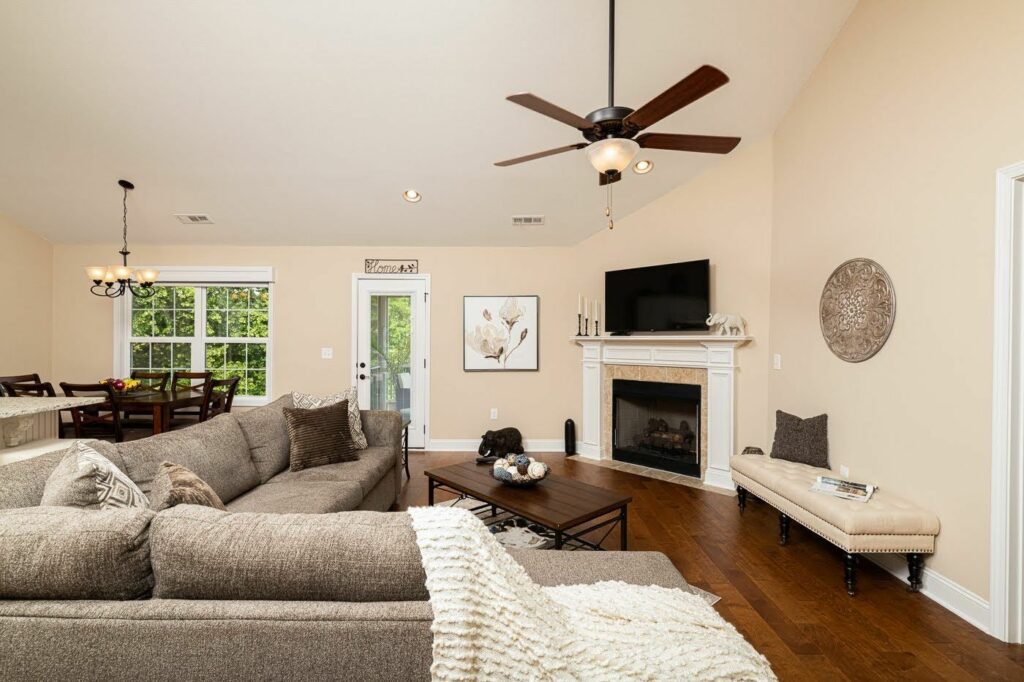
Living Areas
- Turn off all TVs and hide all remote controllers
- Remove all toys, floor fans and any other clutter
- Remove any unnecessary furniture
- Hide all chords – Unplug devices if necessary
- Open all blinds and drapes – let in as much light as possible
- Remove any personal photographs you don’t want online
- Remove all nick knacks
- Turn off ceiling fans
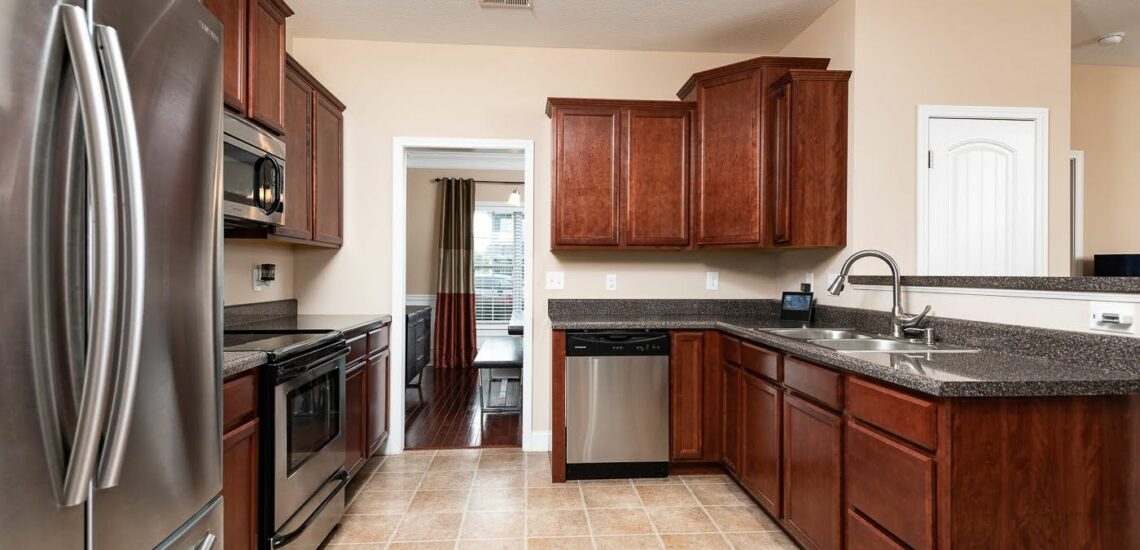
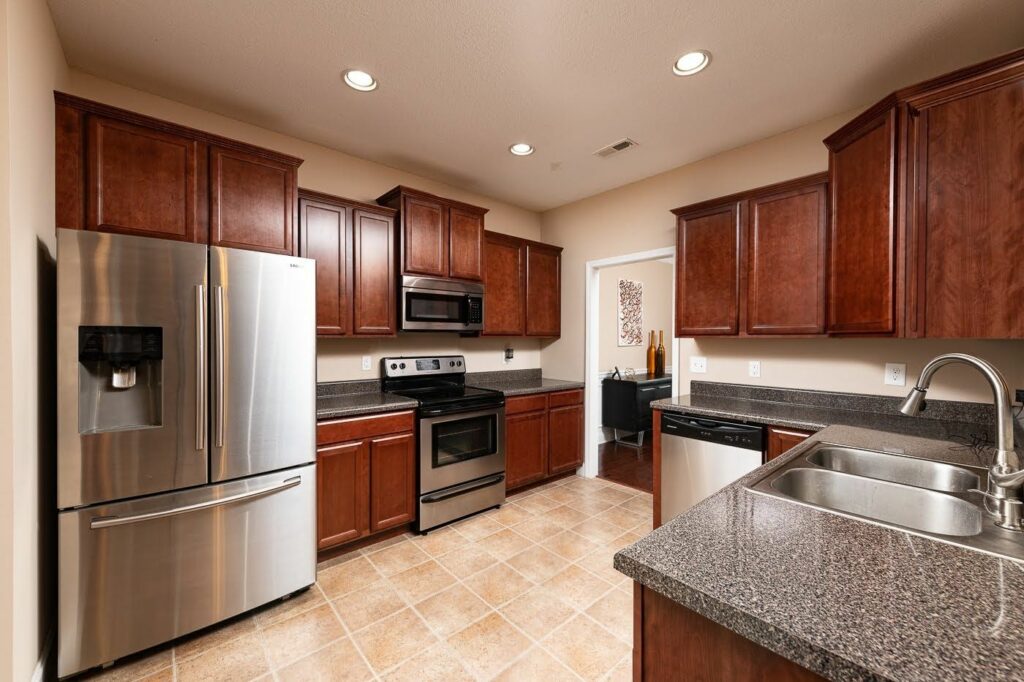
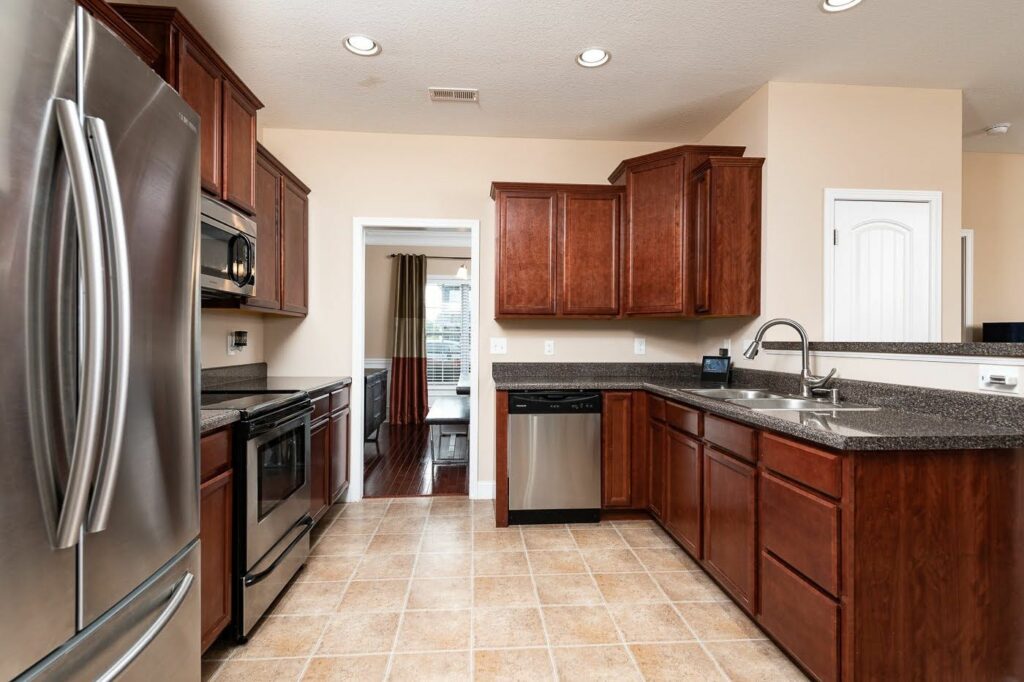
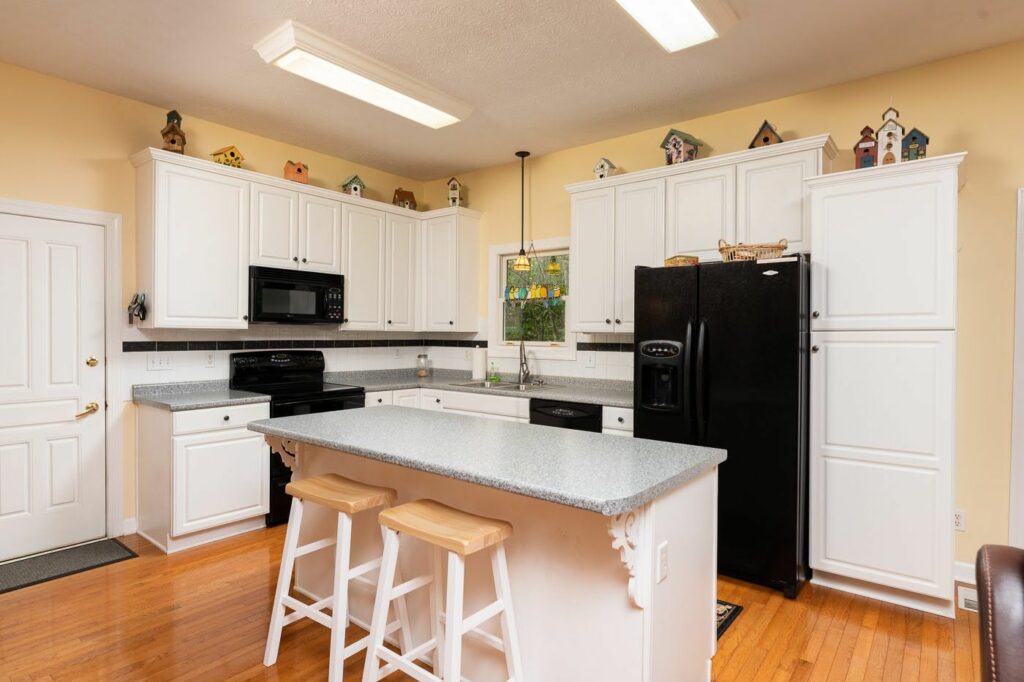
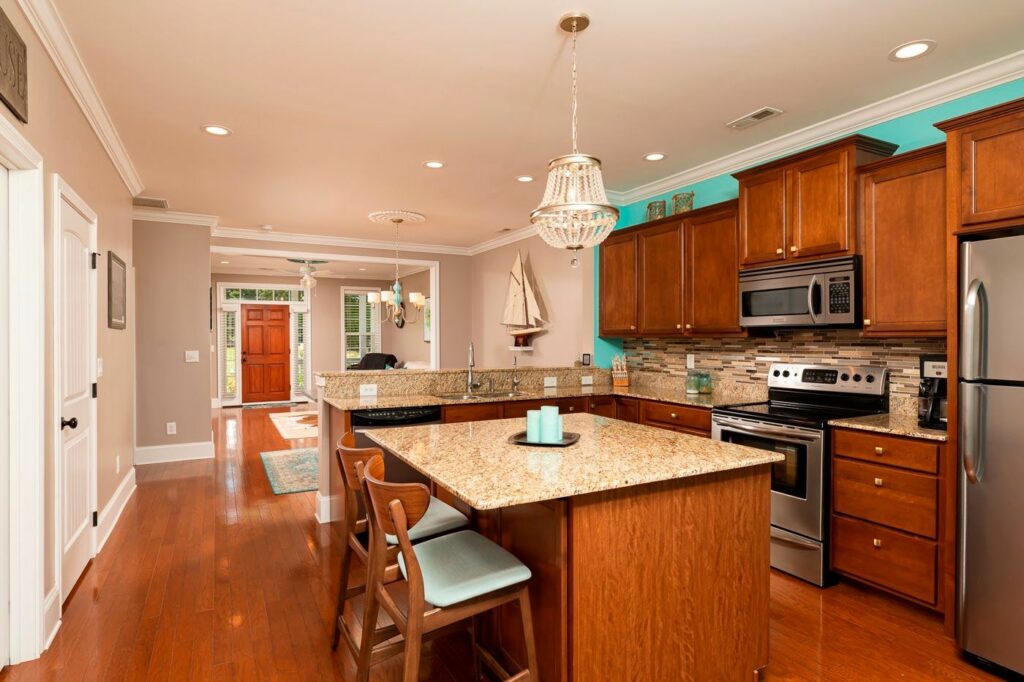
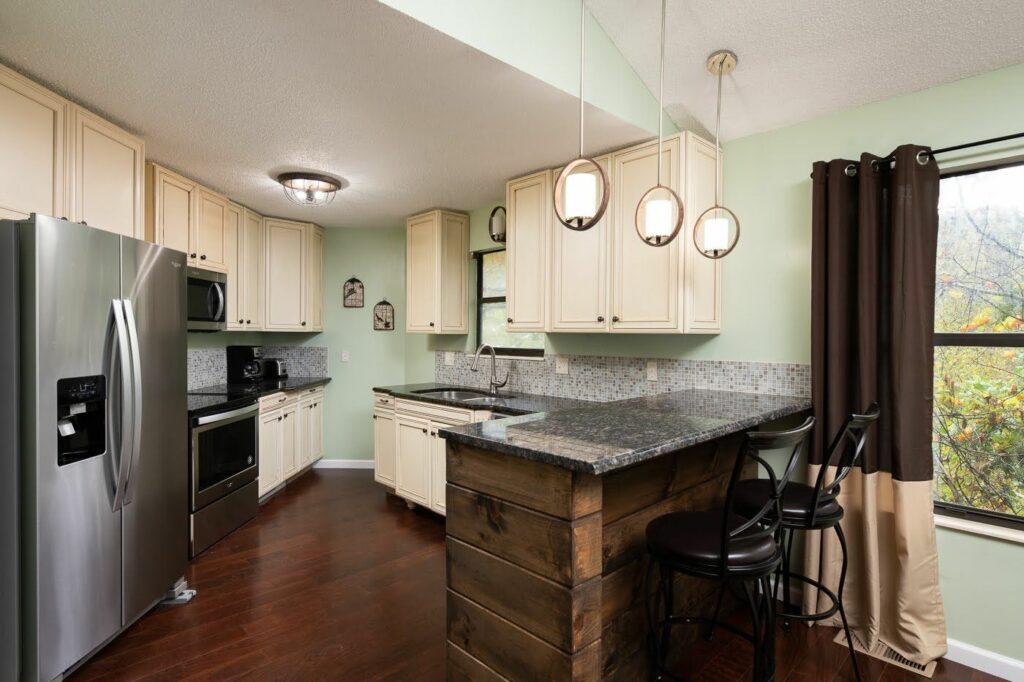
Kitchen and Dining Area
- Clean and remove any dishes
- Remove all small appliances
- Remove any objects on fridge (magnets..etc)
- Wipe down stainless steel appliances
- Remove all dish cloths
- Minimize counter top clutter
- Hide all chords

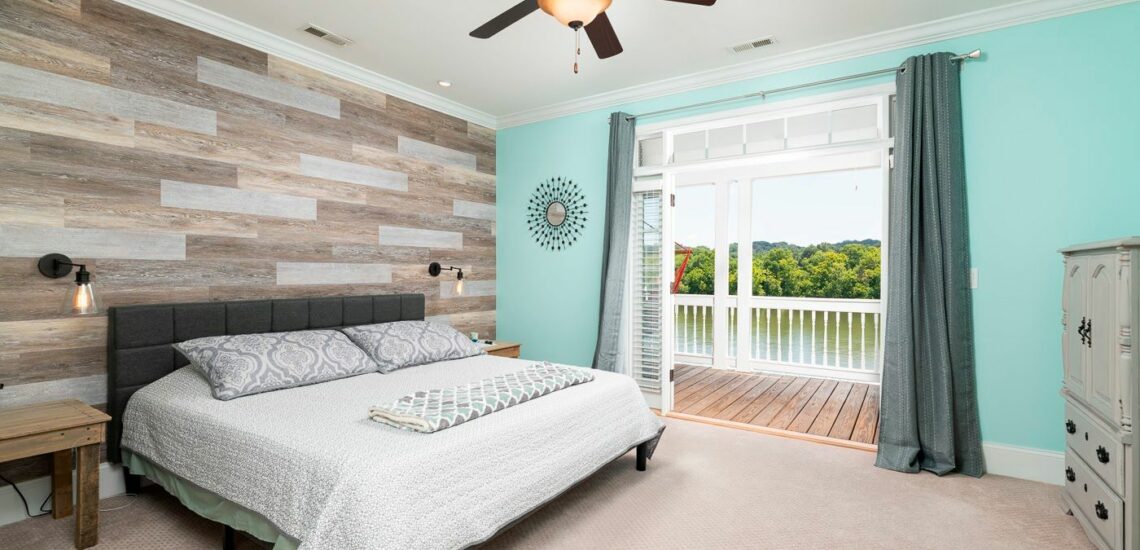
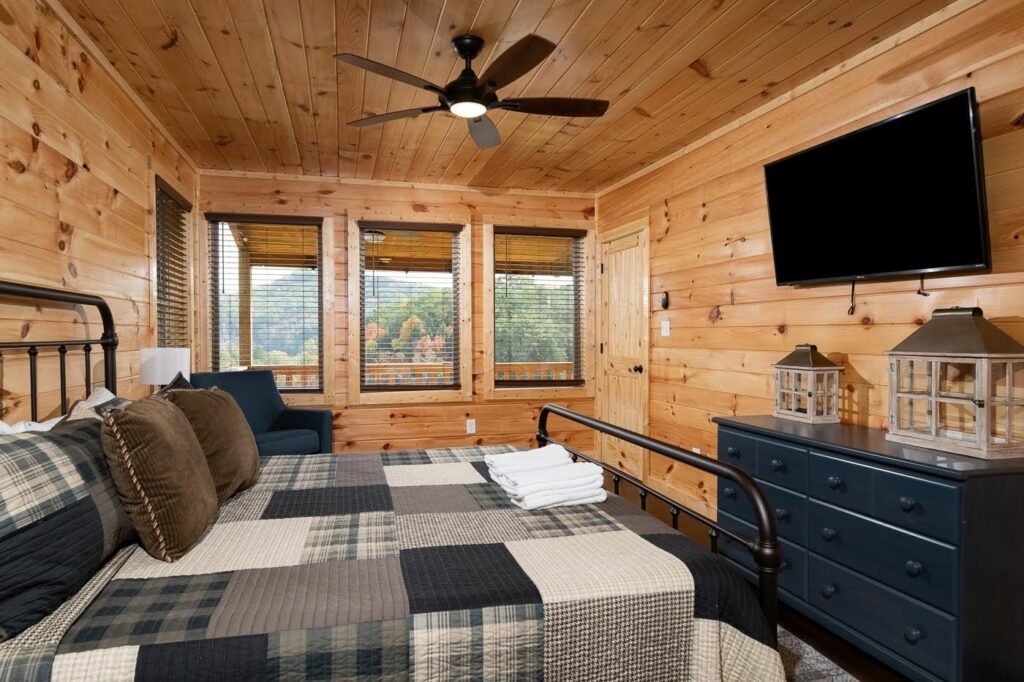
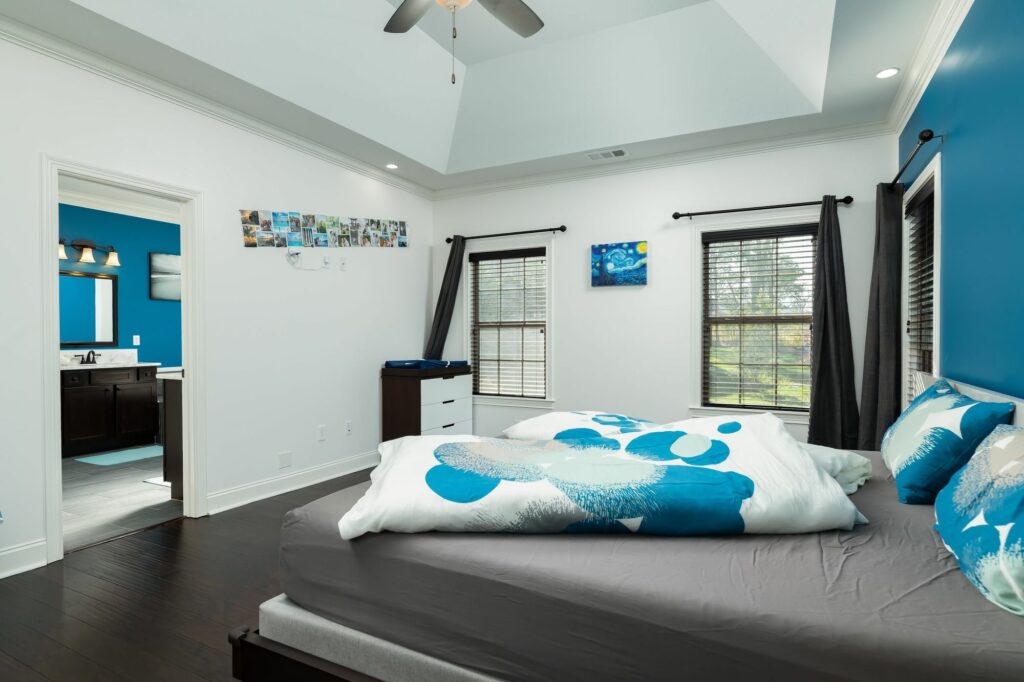
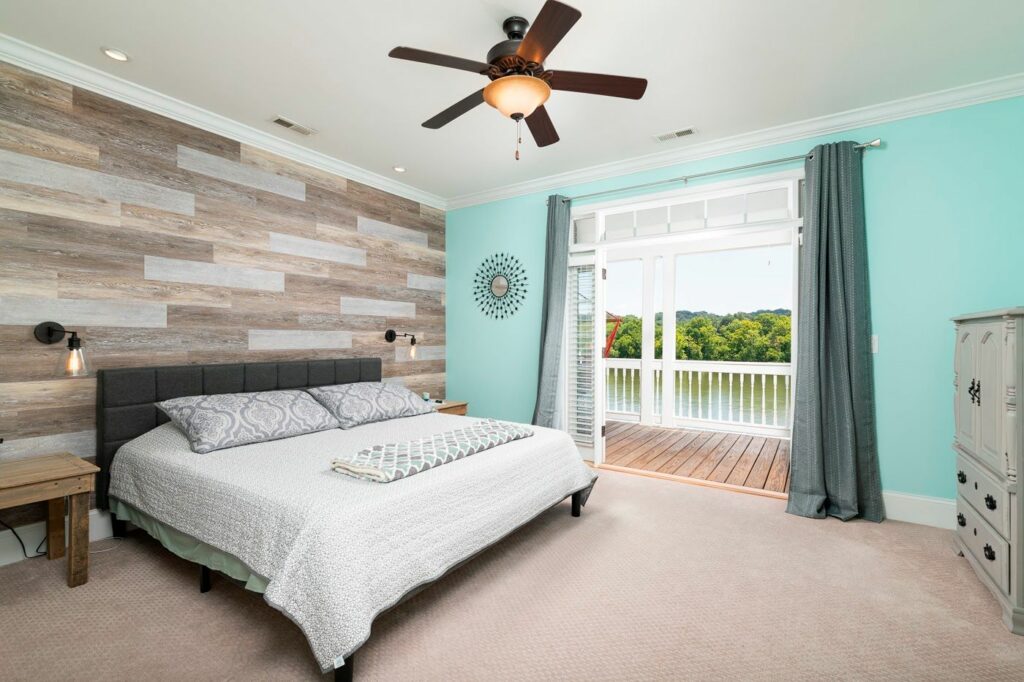
Bedrooms
- Make all beds
- De-clutter toys, books…etc
- Remove all personal items
- Ensure all lamps/lights are working
- Remove any posters
- Hide all chords
- Open blinds and drapes
- Turn off ceilings fans

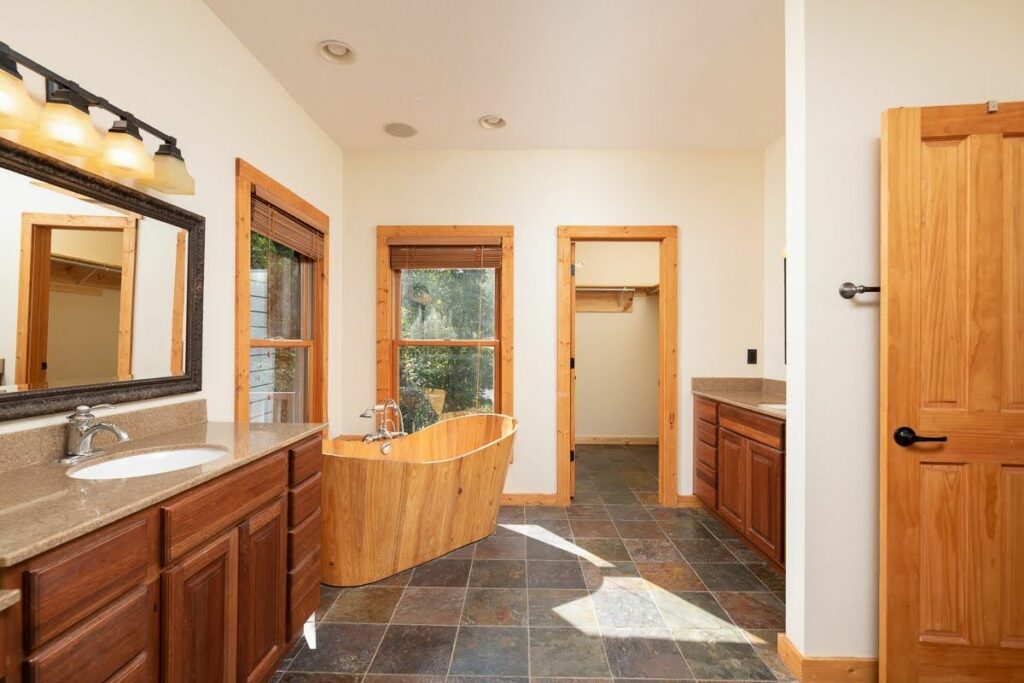
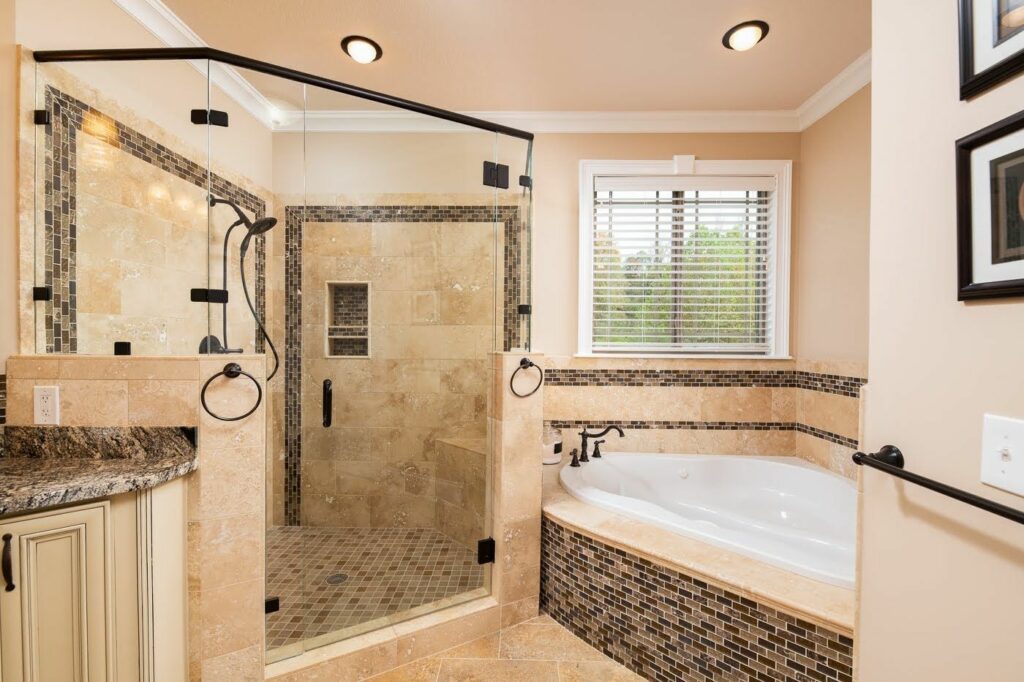
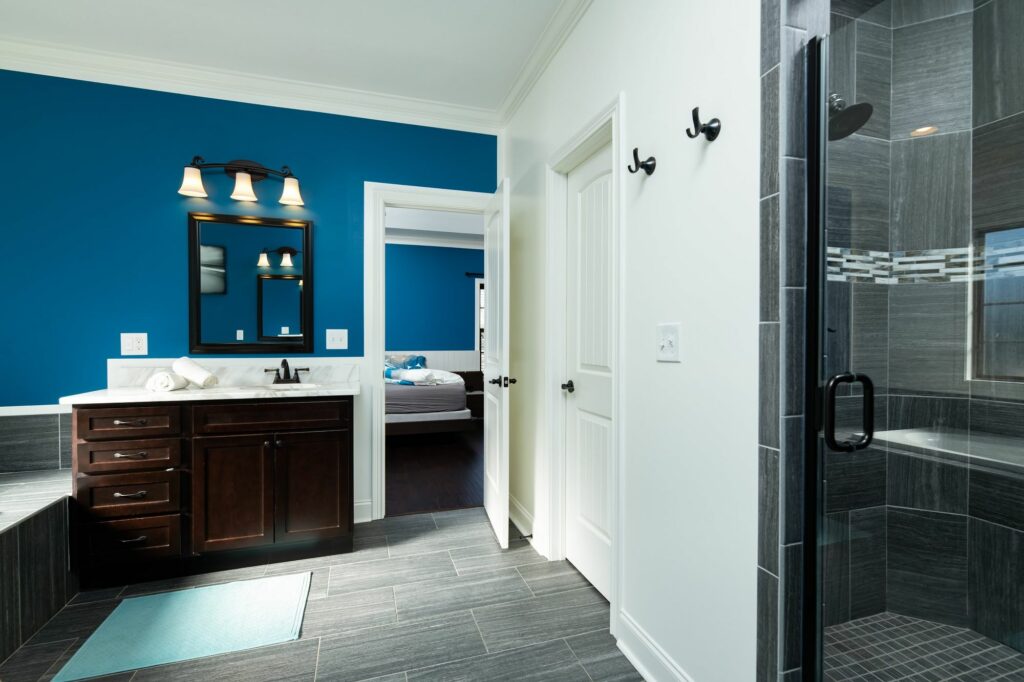
Bathrooms
- Clear counter tops of all toiletries
- Close all toilet lids
- Ensure toilet roll is not empty
- Clean all glass and mirrors
- Remove all soaps from shower
- Remove any scales and matts

60 Minutes before the shoot
- De-clutter as much as possible
- Open all blinds and drapes – let in as much light as possible
- Turn on all lights (lamps included)Make sure all light bulbs are the same color
- Turn OFF any ceiling fans
- Hide all pet bowls/beds and any evidence
- Hide all toiletries in the bathrooms
- Remove all personal items
- Turn off all TVs
- Remove vehicles from the driveway