Selling your home is a stressful process! In order to hit the ground running one of the first things you’ll need to do is get professional photos of your property. Often times, this comes before your home is even listed. As most home buyers are searching online for their next home, professional photographs have never played a more important role in getting top dollar for your property then ever before!
In order to get the absolute best real estae photos for your home, you can prepare your house for the photo shoot. Here are some great pointers to get you started.
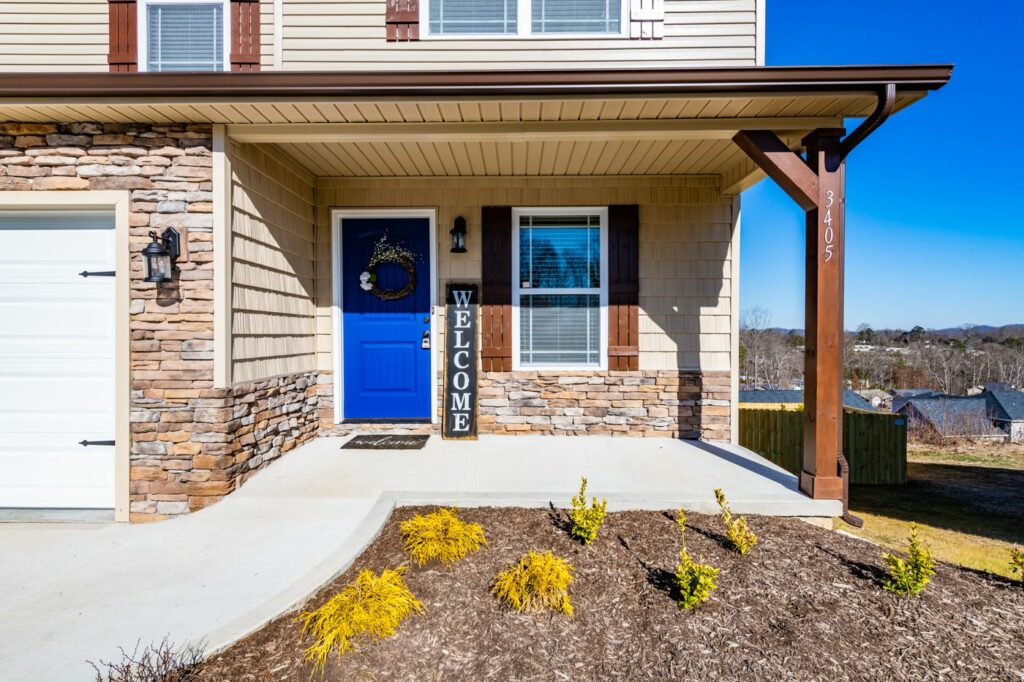
Outside Area
Mow, rake and trim landscaping
Remove all clutter including hoses
Remove any pool/spa covers
Clean all driveways, entryways and patios
Remove any grill covers
Remove any pool toys/equipment
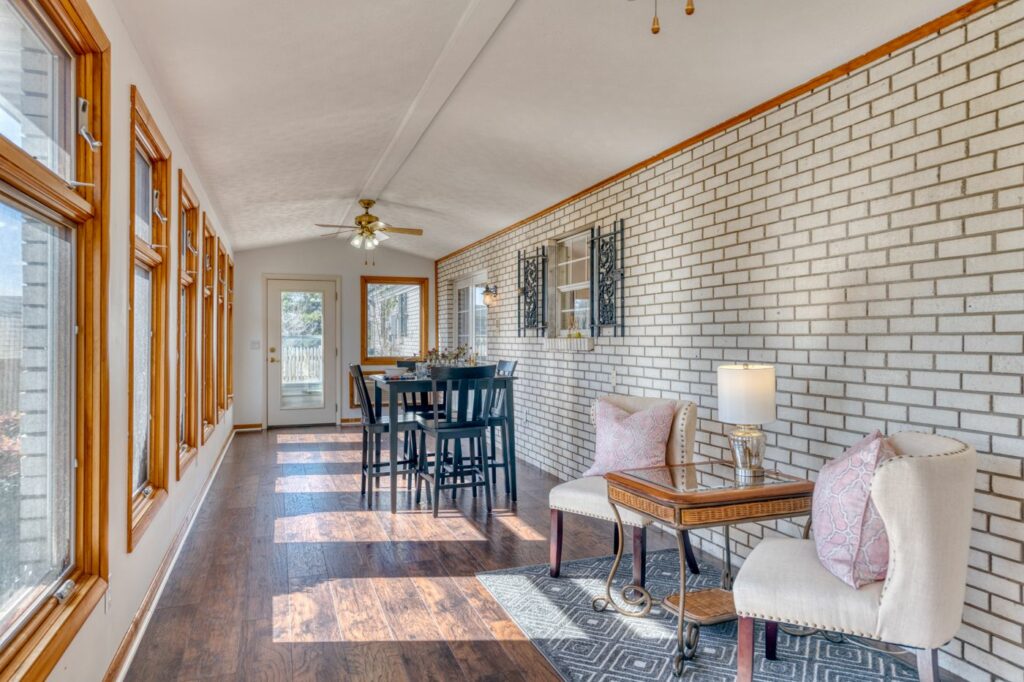
Living Room
Turn off TV and hide remotes
Remove all toys, fans and clutter
Remove any unnecessary furniture
Open blinds and window drapes
Turn off ceiling fans
Remove any “nik-naks”
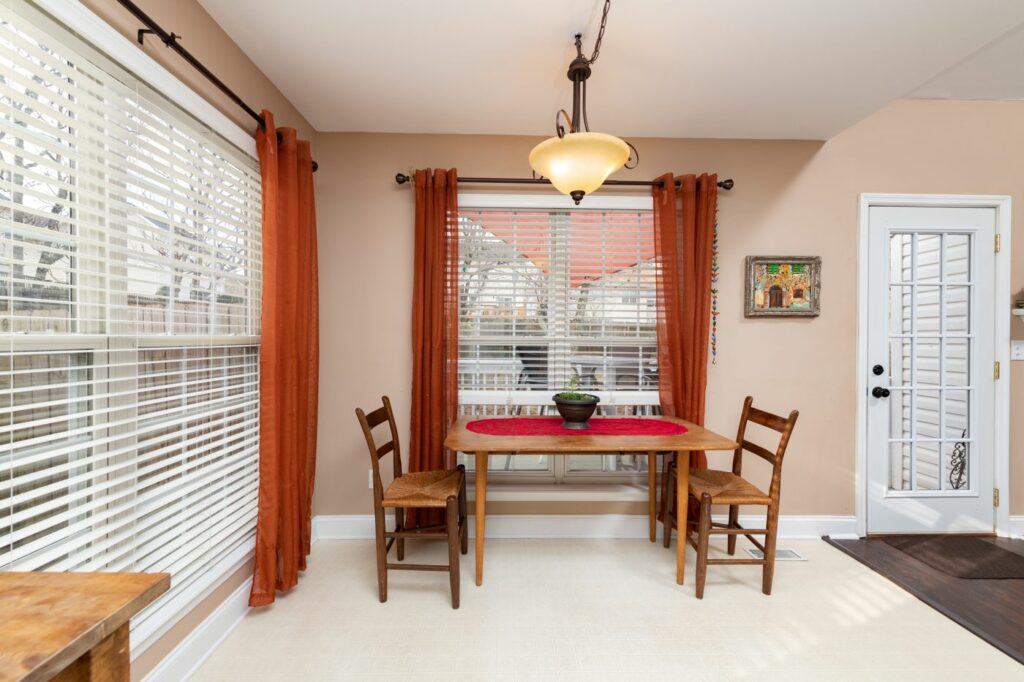
Kitchen and Dining Area
Remove any dishes
Remove all small appliances (toasters..etc)
Remove any objects on the fridge (magnets…etc)
Remove all detergents, dish cloths..etc
Hide any bins and pet bowls
Minimize clutter (salt shakers…etc)
Bedrooms
Make all beds
Declutter toys, books, tissue boxes…etc
Turn on all lamps
Turn off ceiling fans
Open blinds and drapes
Remove/hide any personal items
Bathrooms
Clear counter tops of all toiletries
Close all toilet lids
Make sure glass and mirrors are clean
Remove shampoos and soaps from the shower
Remove any scales, toys…etc
Remove any floor matts
60 minutes before the photo shoot
Open all blinds in the house
Turn on all lights (including under counter lighting and lamps)
HDR is by far the most popular style amongst professional real estate photographers. However, it is really the best solution available? Another style, though not as popular, is using flash while photographing a property. Usually, photographers have their preference as to which is best and shoot with either one or the other. Primarily, I, for example, shoot with flash but I know that there is a time and place for HDR. Hence, I use both styles often in my work.
Because it is so bright outdoors when you’re photographing a house inside (even with the lights on) it’s impossible to capture the interior of the house as well as the view outside in the same image using natural light alone. If your camera’s exposure is set for the view in the window, the inside of the house will be super dark. Alternatively, if your camera’s exposure is set to make the inside of the house appear nice and bright, the windows will all be overexposed.
Therefore in order to create a great real estate image, you will either need to add enough light inside the house to match the amount of light coming through the windows (by using flash) or take multiple exposures of the same image and blend them together in post-production.
Because using flash to brighten a room can be very complicated and there are several different software programs that will blend HDR photos together for you automatically, most real estate photographers opt for the HDR route. However, the question remains: Which style produces the best results?
HDR Photography for Real Estate
HDR photography requires the photographer to take multiple photos of the same image using different exposure settings and then combining the images into one final photo in post-production. For example, most real estate photographers will take 3 photos for each final image:
-3 Exposure Compensation
0 Exposure Compensation
+3 Exposure Compensation
Though sometimes, depending on the light, a photographer might take up to seven different exposures for the same image. It all depends on how bright it is outside, and how dark the house is. If your darkest image isn’t at least showing at least perfectly exposed windows and your brightest image isn’t showing a perfectly exposed interior then you won’t get the results you are looking for.
The difference between using 3 images to just 4 images can make a big difference.
No question, HDR can be a lifesaver and create some stunning images when photographing real estate. But personally, I prefer to use this style of photography sparingly.
Problems with using HDR and why I prefer flash (most of the time)
The “dirty” look of HDR only gets worse when shooting a super dark interior on a bright sunny day. The higher the dynamic range in the photograph – the more discoloration walls and window frames will have. Notice the hallmark “black smudges” of discoloration in the HDR photograph below.
In contrast to HDR – Flash will almost always produce a sharper, crisper image. Your whites will be whiter and your blacks will be blacker. This can actually make things actually look cleaner and newer then they are in real life.
In addition to this, flash not only produces a sharper image with more contrast but it’s also actually much faster then HDR.
True. You may spend slightly longer at the property properly lighting the house, but you’ll save all that time and more doing the post-production later on. Compiling a bracket of 4 images will take about 5 minutes in post-production for me. (And that’s with a kick-ass machine!) However, with flash I can bulk edit all of my pictures with a single click of a button. The few images that need to actually be brought into photoshop take seconds to perfect.
I spend on average about 5 minutes doing my post-production per property at the end of the day. That’s compared to 45+ minutes per property I spend on an HDR shoot.
In summary
Both techniques have their place in real estate photography. Depending on the composition, time of day, exterior and interior lighting, one technique may be easier than the other, but rarely will HDR give a better result in the final image.
One of the most common mistakes professional real estate photographers make is over-editing their pictures. Often times, professional architectural photographers look down upon real estate photographers believing them to be amateurish or incapable. This, I believe, is largely due to the two biggest mistakes I see all the time in the world of property photography:
Bad angles
Bad post production (photo editing)
I actually do very little to my photos when editing my real estate pictures. This is mainly due to the fact that when taking my real estate photos, I try my level best to get the perfect shots. Taking really good real estate photos on site allows me to start my editing process with a single image that is perfectly lit and well composed. I avoid Photoshop for real estate photography as much as possible and try to keep all of my post production in Light Room.
Following are the editing actions I take with every one of my real estate photos:
Lens Correction – All camera lenses have a slight barrel distortion. Even if you have the best lens for real estate photography in the world there will still be some amount of barrel distortion. By applying lens correction during my real estate photo editing I ensure that all the lines are straight.
Add a touch of sharpness – Again, a common mistake I see often (especially for those who are learning how to become a professional real estate photographer) is simply adding too much of everything. By adding sharpening way too much during the editing process the image becomes noisy, making what could be a high-quality real estate photo a low-quality image.
Those are the two editing actions I take with every real estate image and that’s it! Obviously, some real estate photos require a bit more touch up, but those two actions are a guarantee. Some of the other real estate retouching I do depends on whether the image is an interior photo or an exterior photograph.
Interior Real Estate Photography
As I prefer to use flash for real estate photography, especially for my interior shots, I have to do very little to my photographs during my real estate photo editing process. Even when using a flash for real estate photography sometimes a certain image needs a little help. Some of the common retouching I may do in order to create the best looking real estate photo includes:Adding Contrast – Never too much, but sometimes just a touch of contrast can make the blacks blacker and the whites whiter. This can help give the image depth but it can be dangerous to use in real estate retouching if you are photographing a room that has stains on the carpet or marks on the walls. By adding contrast to bedrooms that have carpet and/or wall issues you’ll highlight the defects sometimes making stains or marks appear even worse than they actually are.Noise Reduction – Rarely do I have to use any kind of noise reduction because I shoot at a low ISO, however, occasionally, if the property is dirty, this can make the house appear cleaner especially for scratched up hardwood flooring.Bring down the highlights I only need to do this on occasions when I have to turn up my flashes to brighten a room but it causes certain objects in the image to appear too hot. Again, a common mistake I see a lot of real estate photographers do is bring the highlights all the way down and bump up the shadows. Not only will this make furniture and other objects look worn, but it also makes the image flat.White Balance – This is probably the most common action I take, especially with my interior real estate pictures. Because I shoot my interior photos with primarily flash and high shutter speed, if the ceilings and/or walls are not truly white in color then the light that bounces around the room will carry the paint color around the room. This is why the best real estate photographers always shoot in raw format – never jpg. Shooting in raw format is real estate photography 101 and it allows me to correct the white balance regardless of what colors the walls and ceilings are. Even if I don’t use shoot with flashes and only use natural light for my interior photography, the same rules will apply.
Exterior Real Estate Photography
When retouching my exterior real estate images I’ll often make the following edits:Add Vibrance – This makes blue skies darker as well as bluer and grass along with trees greener. This can be dangerous however especially if the grass is yellow or the swimming pool in the backyard needs to be cleaned as it will just exaggerate the colors.Crop – When taking real estate photos it’s critical to keep the camera perfectly level so walls and lines are straight. This often means, when shooting the front of a house, that I have a lot more foreground then I’d prefer. In those cases I’ll still take the shot – knowing later in post-production I can crop the image to remove the foreground or other unwanted items that appear in the image.
Things I do not typically do
I’m not opposed to doing whatever the client asks. This is not photojournalism – its real estate photo marketing. Some real estate photography companies will outright refuse to do certain things based on some moral principle. That makes no sense to me, I’m a professional who was hired to create amazing real estate photos for the client. So when I take photos for real estate agents and get asked by the realtor to make some minor change to the image to improve the photo, I don’t hesitate at all.
With that said, here are a few things that are not a part of my standard real estate packages, but that I can do for an additional fee:Remove Carpet StainsRemove any holes in the walls and/or floors and ceilingsRemove marks such as cryons, patch work… etcChange paint colorsFix landscaping such as adding grass or removing problem areas.
In summary
In general – my real estate photo editing and retouching are very subtle. I think the difference between good real estate photos and great real estate photos is being light handed with the post-production.
The best real estate photos are the ones that require very little touch-up. I’m not one to use a ton of Photoshop actions or filters because I prefer to get things right while photographing real estate.