My quick thoughts...
Personally, I believe that both square footage as well as the number of rooms/spaces ultimately determine how many images you need to showcase your property. Generally speaking, here are my recommendations:
- 15 Images for 1,000 Sq Ft or less – Studio to 2 Bedrooms
- 20 Images for 1,600 Sq Ft or less – 2 to 3 Bedrooms
- 25 Images for 1,800 Sq Ft or less – 3 to 4 Bedrooms
- 30 Images for 2,000 Sq Ft or less – 3 to 4 Bedrooms
- 35 Images for 2,200 Sq Ft or less – 4 to 5 Bedrooms
- 40 Images for 2,600Sq Ft or less – 4+ Bedrooms
How to determine how many real estate photos you need.
I do have several clients of mine who ultimately just leave the decision up to me. In that case, here is what I typically deliver:
2 photos of the front. If the yard or home is larger I may take 3
1 Photo of the entry. If larger and/or more decadent entryway I would take more.
2 pictures of the living space but usually 3 I take photos.
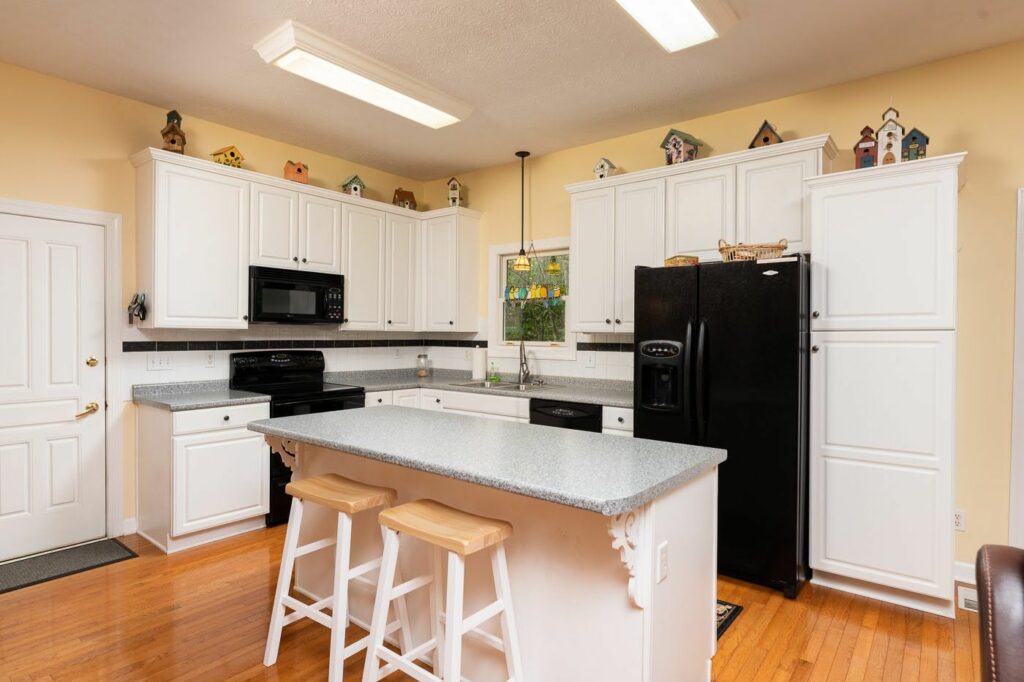
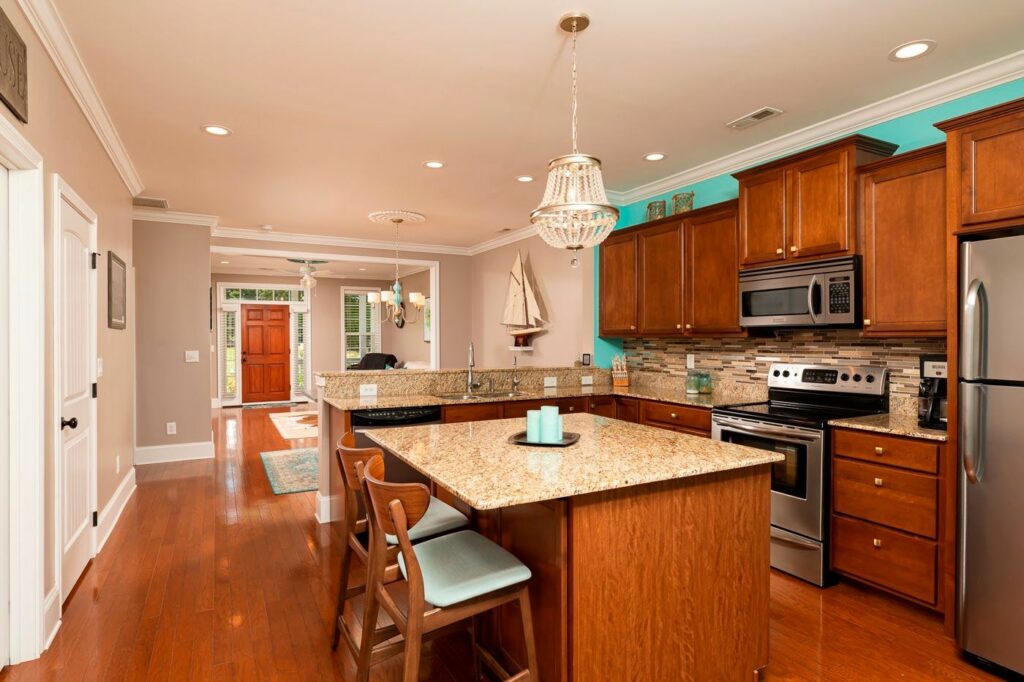
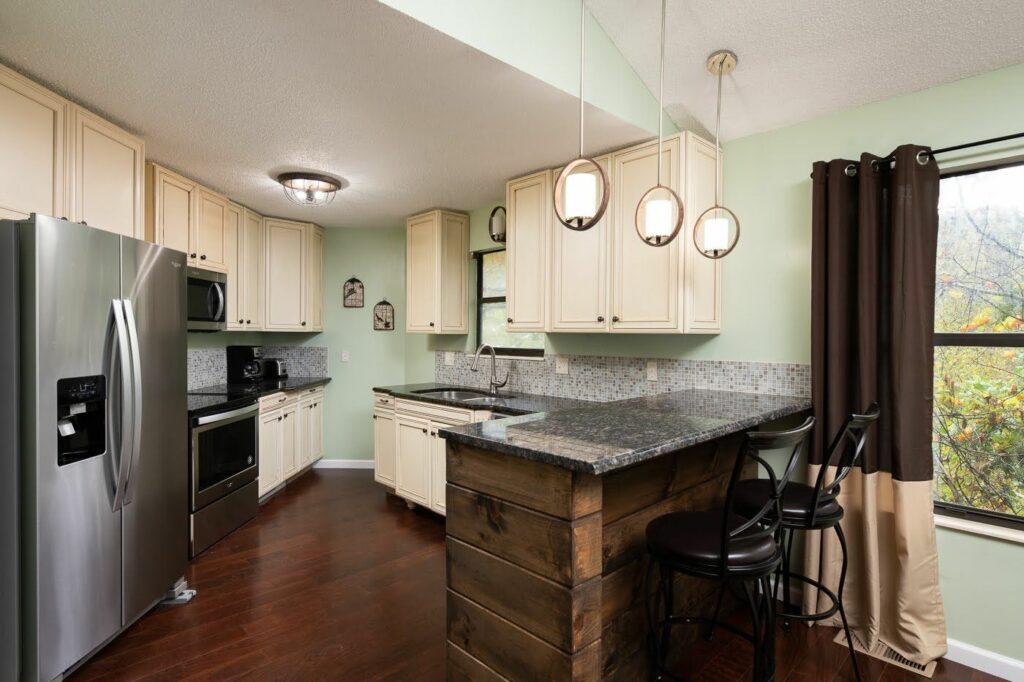
3 pictures of the kitchen area. 2 if a smaller kitchen.
1 Photo of the Dining area. 2 photos for closed floor plans.
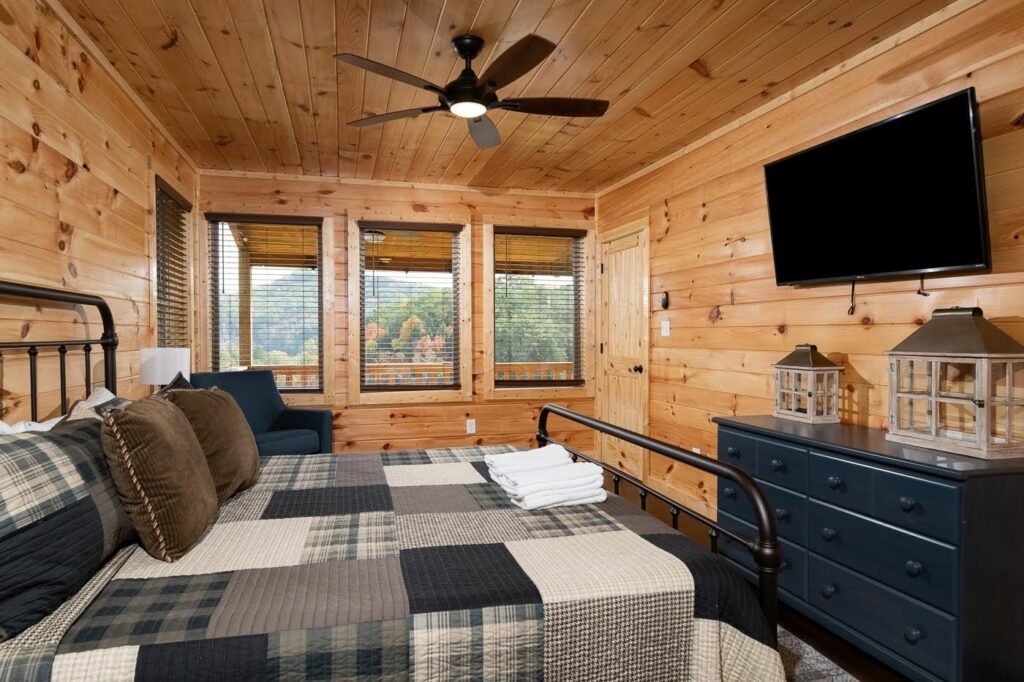
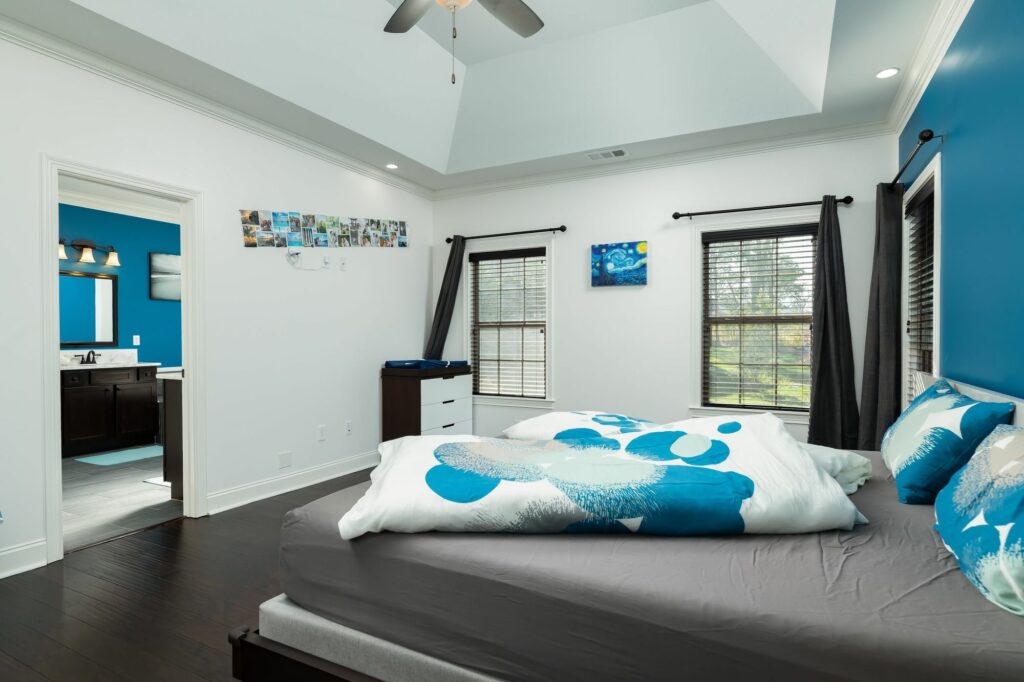
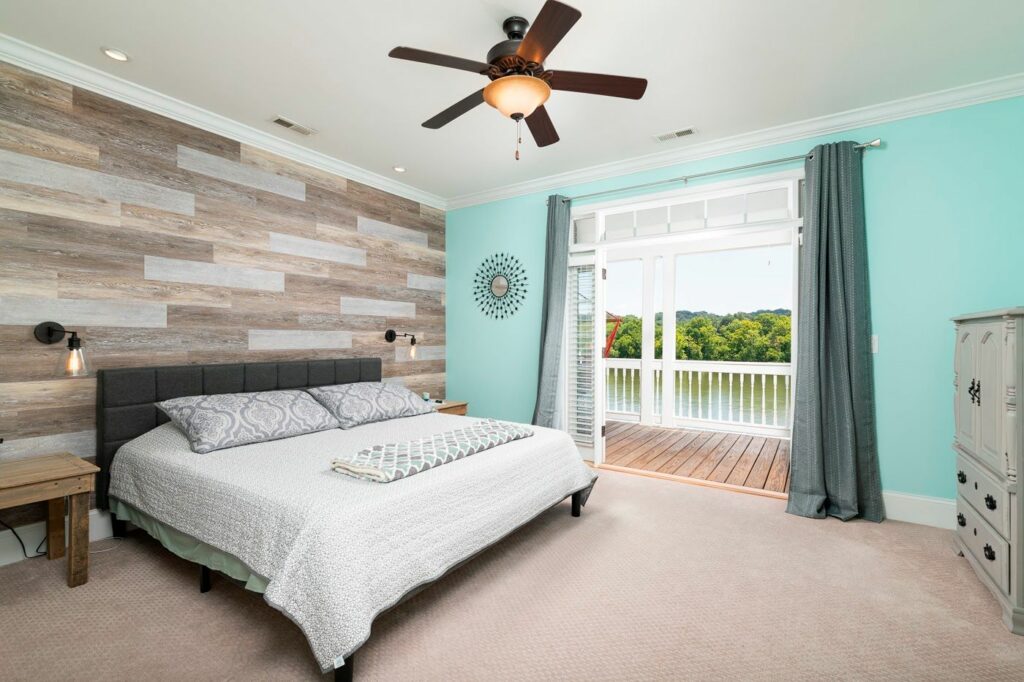
2 Photos of Master Bedrooms also bedrooms with attached Bathrooms.
1 Photo of bedrooms, office, den and bonus rooms.
3 – 4 Photos of the backyard.
Again, this is just a guideline. I may take extra images of special or unique features or less images for spaces that I don’t think will photograph well.
Everyone has their own marketing strategies. Some prefer less or more images. In the era of zoom conferences and remote work, there is little doubt that more and more homebuyers will continue to use property photographs as their primary filtering tool throughout their home search.
Regardless of your marketing strategy, there are a few questions you should consider when deciding on a total image count.
Do you have an open or closed floor plan?
Open floor plans require less images and are more common so if the property has a closed floor plan you may need more images than suggested above.
Do you have a lot of acreage?
If the property has more than .75 of an acre I typically recommend more images in addition to aerial photos to showcase the property border lines.
How many photos are too many photos?
We can all understand and appreciate the fact that not having enough real estate images can hurt a listing but can you have too many images? Absolutely! The goal of getting professional property photos is to highlight the features and minimize the scars. Generally speaking I don’t photograph closets, pantries, hallways, attics, crawl spaces..etc
Example


I’ll give an example of a photo shoot I did where I made the executive decision on a total image count. This was a 3 bedroom/3 bathroom residential property with just over 2,000 square feet. It was located in a rougher area in Knoxville but had a lot of features worth highlighting.
I ultimately delivered 25 images to my client. Below are examples of the shots I took as well as a short explanation of my thought process at the time.
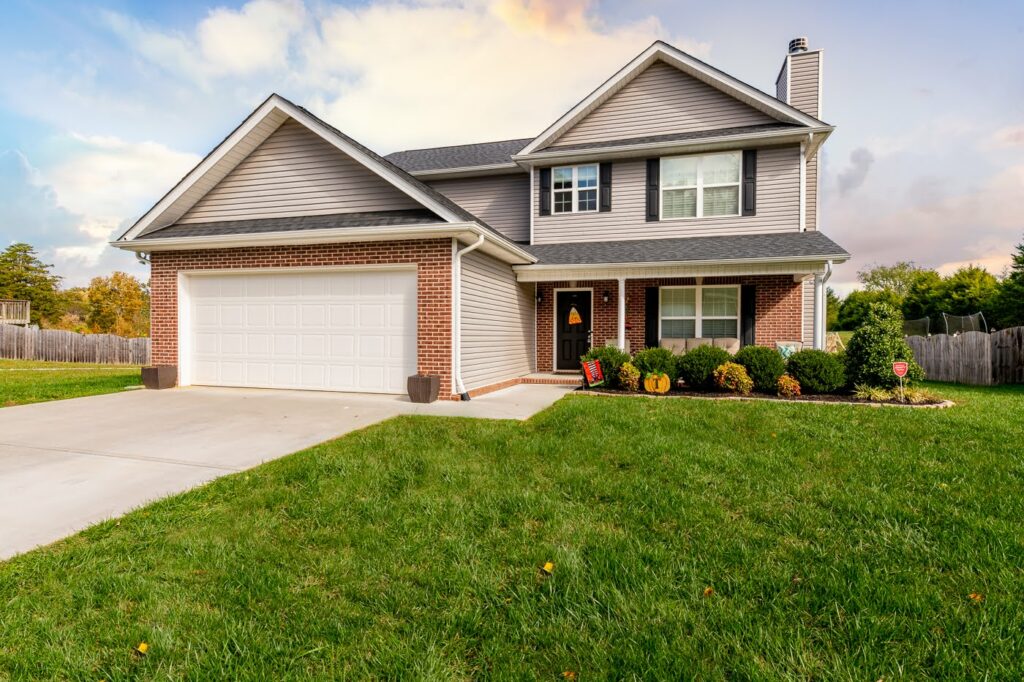
Front Exteriors:
Because this property is much larger than it looks from the outside, I wanted to make sure that I captured the depth of the house from the front. In addition to that angle I also captured a “dead-on” shot that I ultimately used as the primary photo.
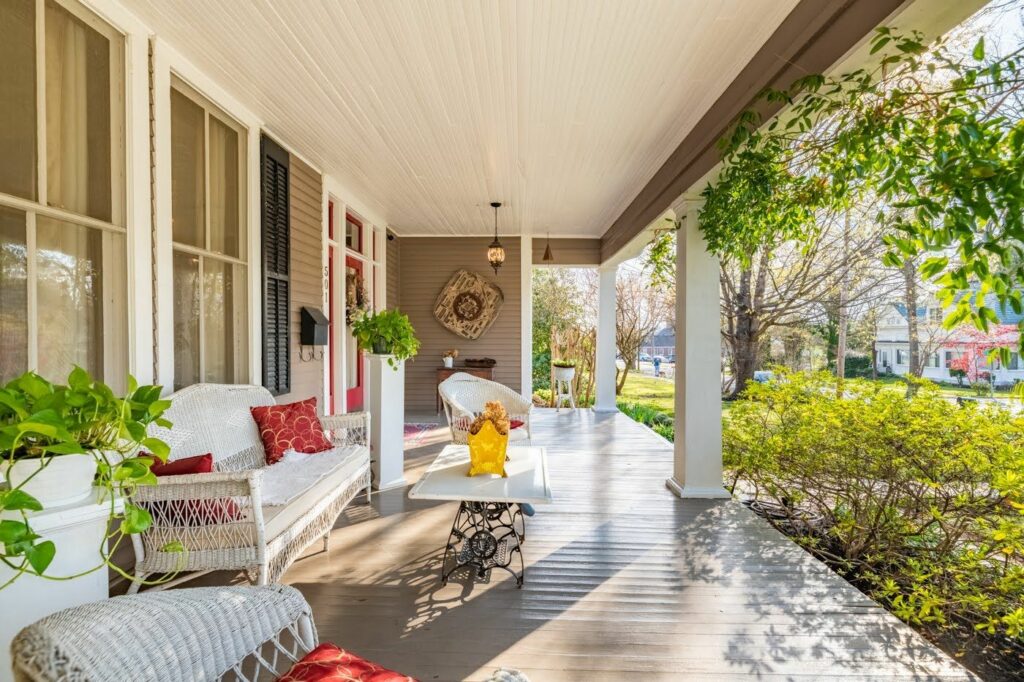
Though having photos of the front of the house is important, I felt the highlight of the front was the porch area. I decided that though it wasn’t a huge patio, it needed two shots. One showcasing the size and gorgeous wood ceiling and the other showcasing the view. The “View” shot was important because all the houses on that street are so close to one another, I felt the extra empty space across the street was a feature worth highlighting.


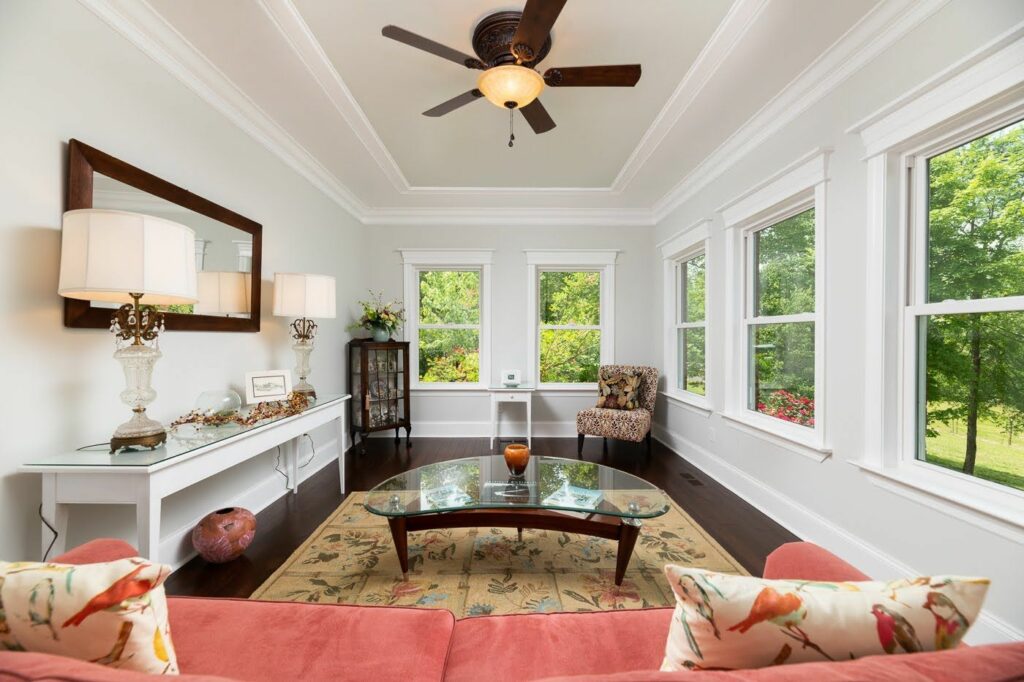
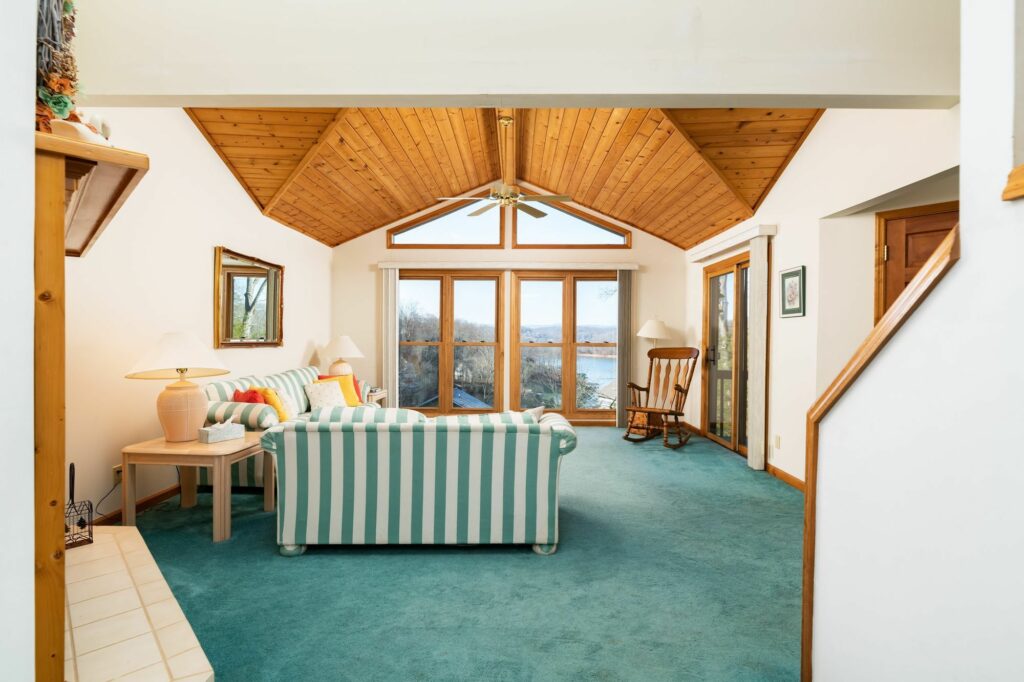
Living Area
This was not a large living room but I still felt that it needed 3 photos. The first showcasing the front door and the view out of the main living room window. The 2nd showcasing the space when looking in and the final shot showcasing the somewhat open floor plan. Though I only sent the 3 photos, if image count isn’t a concern, I felt the space could benefit from one more additional photo showcasing the fireplace.


Dining Space
This space only needs two photos to tell the story. One showing its location to the kitchen and the other highlighting the view from the window as well as its location to the living area. If Image count is of no concern it could use one more photo highlighting lifestyle/feel of the room.


Kitchen
I ended up with 3 photos of the kitchen. One showing the bar, the other highlighting the stove, microwave and sink area. The final shot showcases the stove and built-ins.


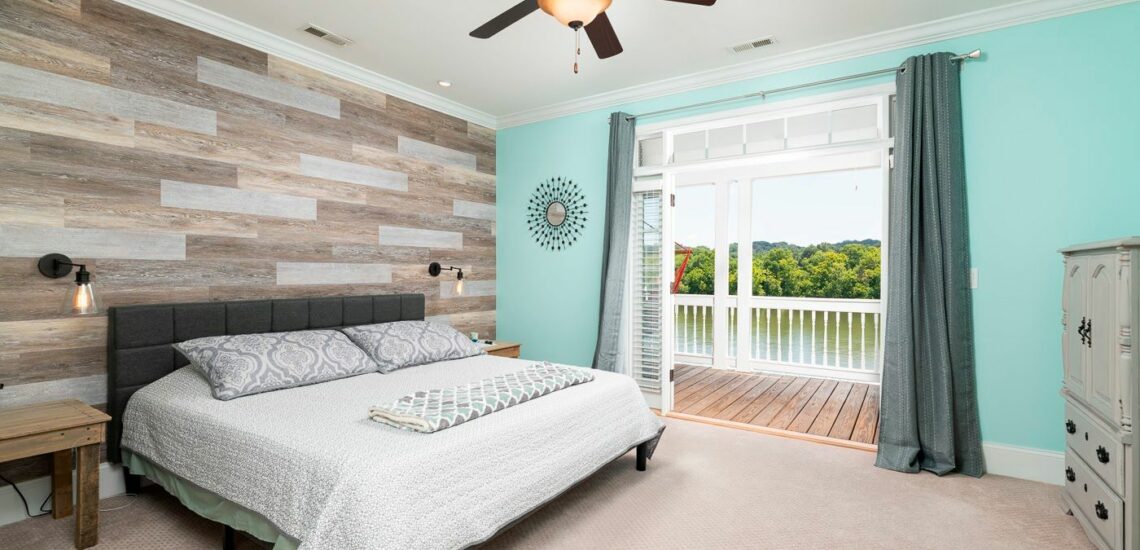
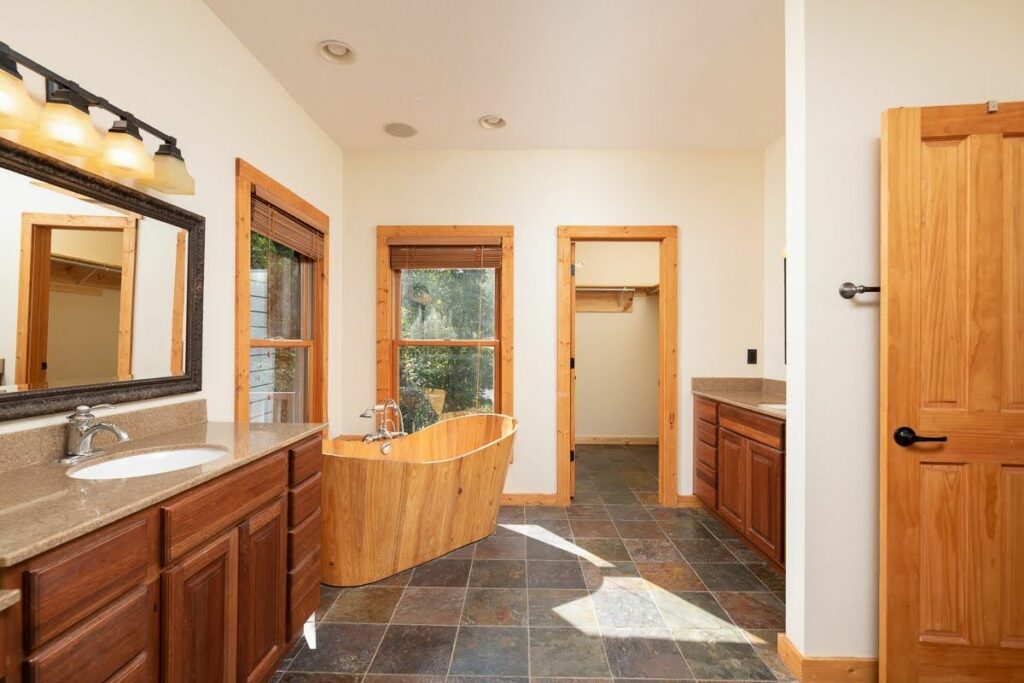
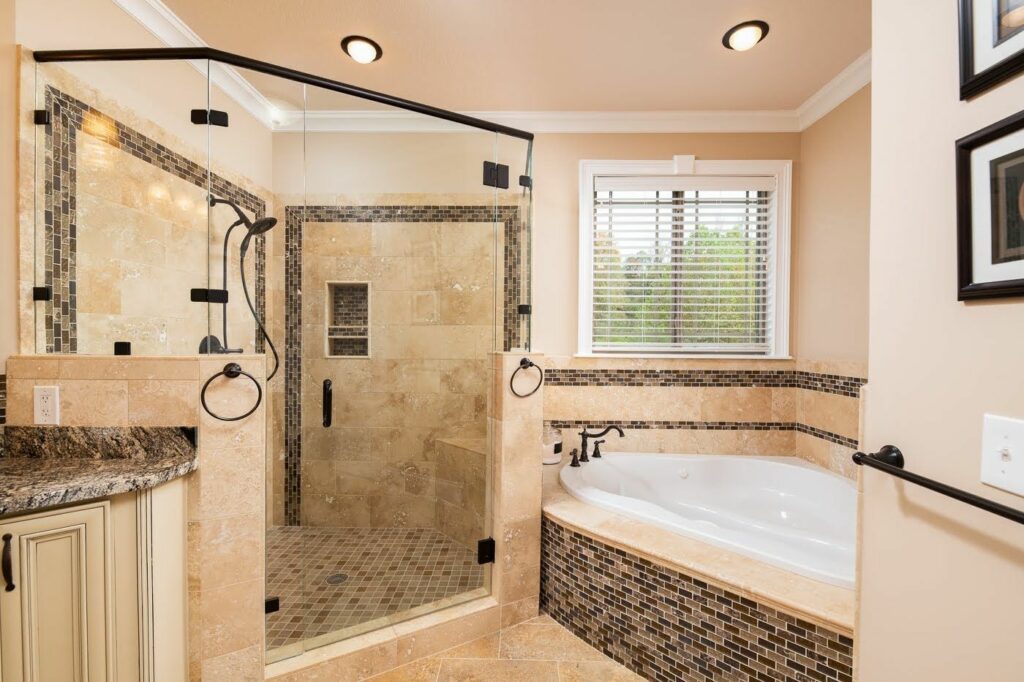
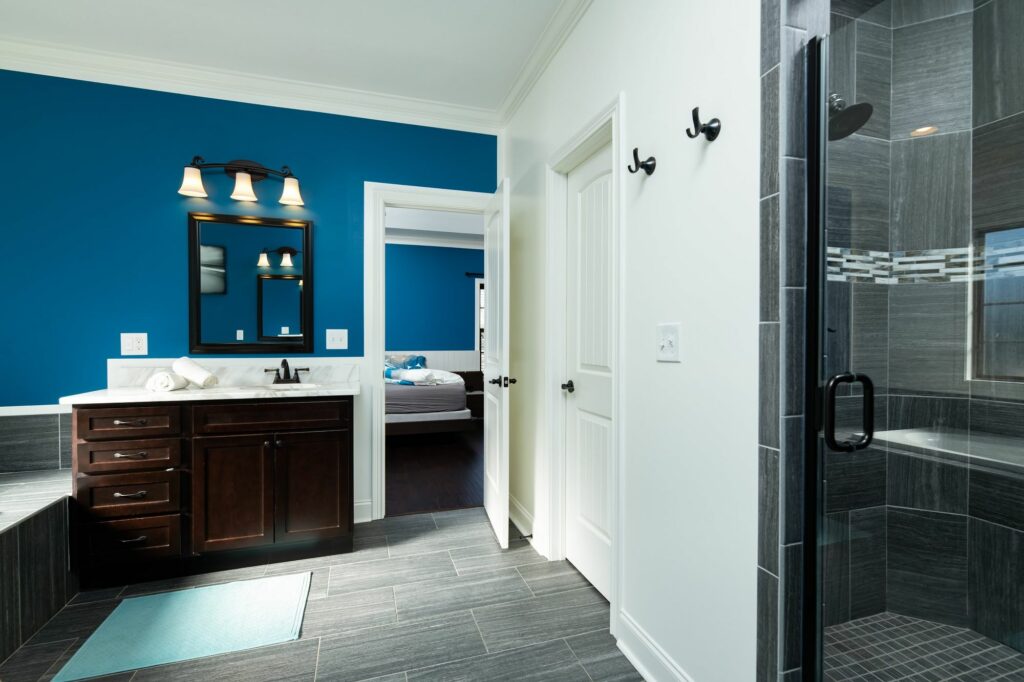
Master Bedroom + Bathroom
This was a small room but it still needed two photos, one shooting into the room and an extra shot showing the attached bathroom.
Though I typically do not photograph closets I will if there is something special or unique about them. In this property, the only way to get to the master bathroom is through the closet so I felt it was worth taking. The bathroom needed two shots, one showing the dual sinks and the other of the shower.


Bedrooms and Bathrooms
Each bedroom and bathroom only required a single image.


Downstairs Living area
I felt this area only needed two photos, one showing the space as well as the staircase leading down and the other showing into the room.
Downstairs Living area
I felt this area only needed two photos, one showing the space as well as the staircase leading down and the other showing into the room.


Laundry Room
Not always do I feel it necessary to grab a picture of the laundry area however, if the space is large enough and/or there is a sink or built-ins then I’ll usually do take a photo.


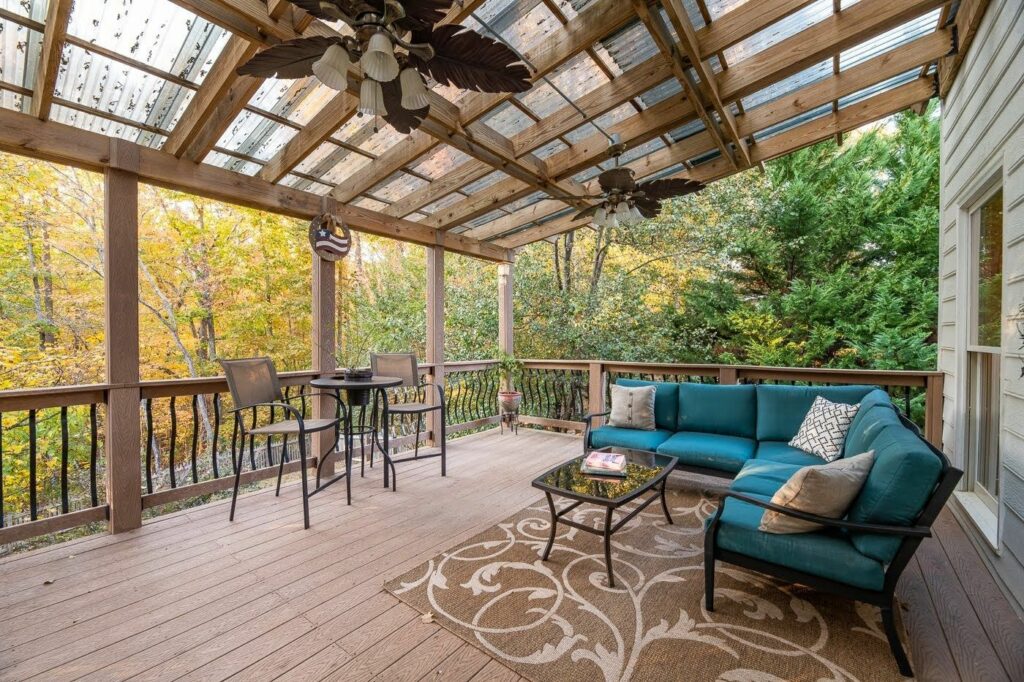
Backyard Exteriors
Because there wasn’t much to the backyard and I was trying to avoid the view looking out, I felt the back exteriors only needed two photos.
If it were a 30 Image Shoot
There are some additional shots I would include if I knew the client preferred more photos. The first one being the fireplace. I think it was worth showcasing the tile work as well as the floating bookcases.
When looking for a shot in the dining area I also felt there was a great lifestyle type shot to be had. Same is true of the kitchen however I felt they were great alternative angels but ultimately redundant in telling the story. I also grabbed a shot of the storage room downstairs. I typically do not take photos of storage spaces unless they are clean and organized and it showcases well in a photograph.